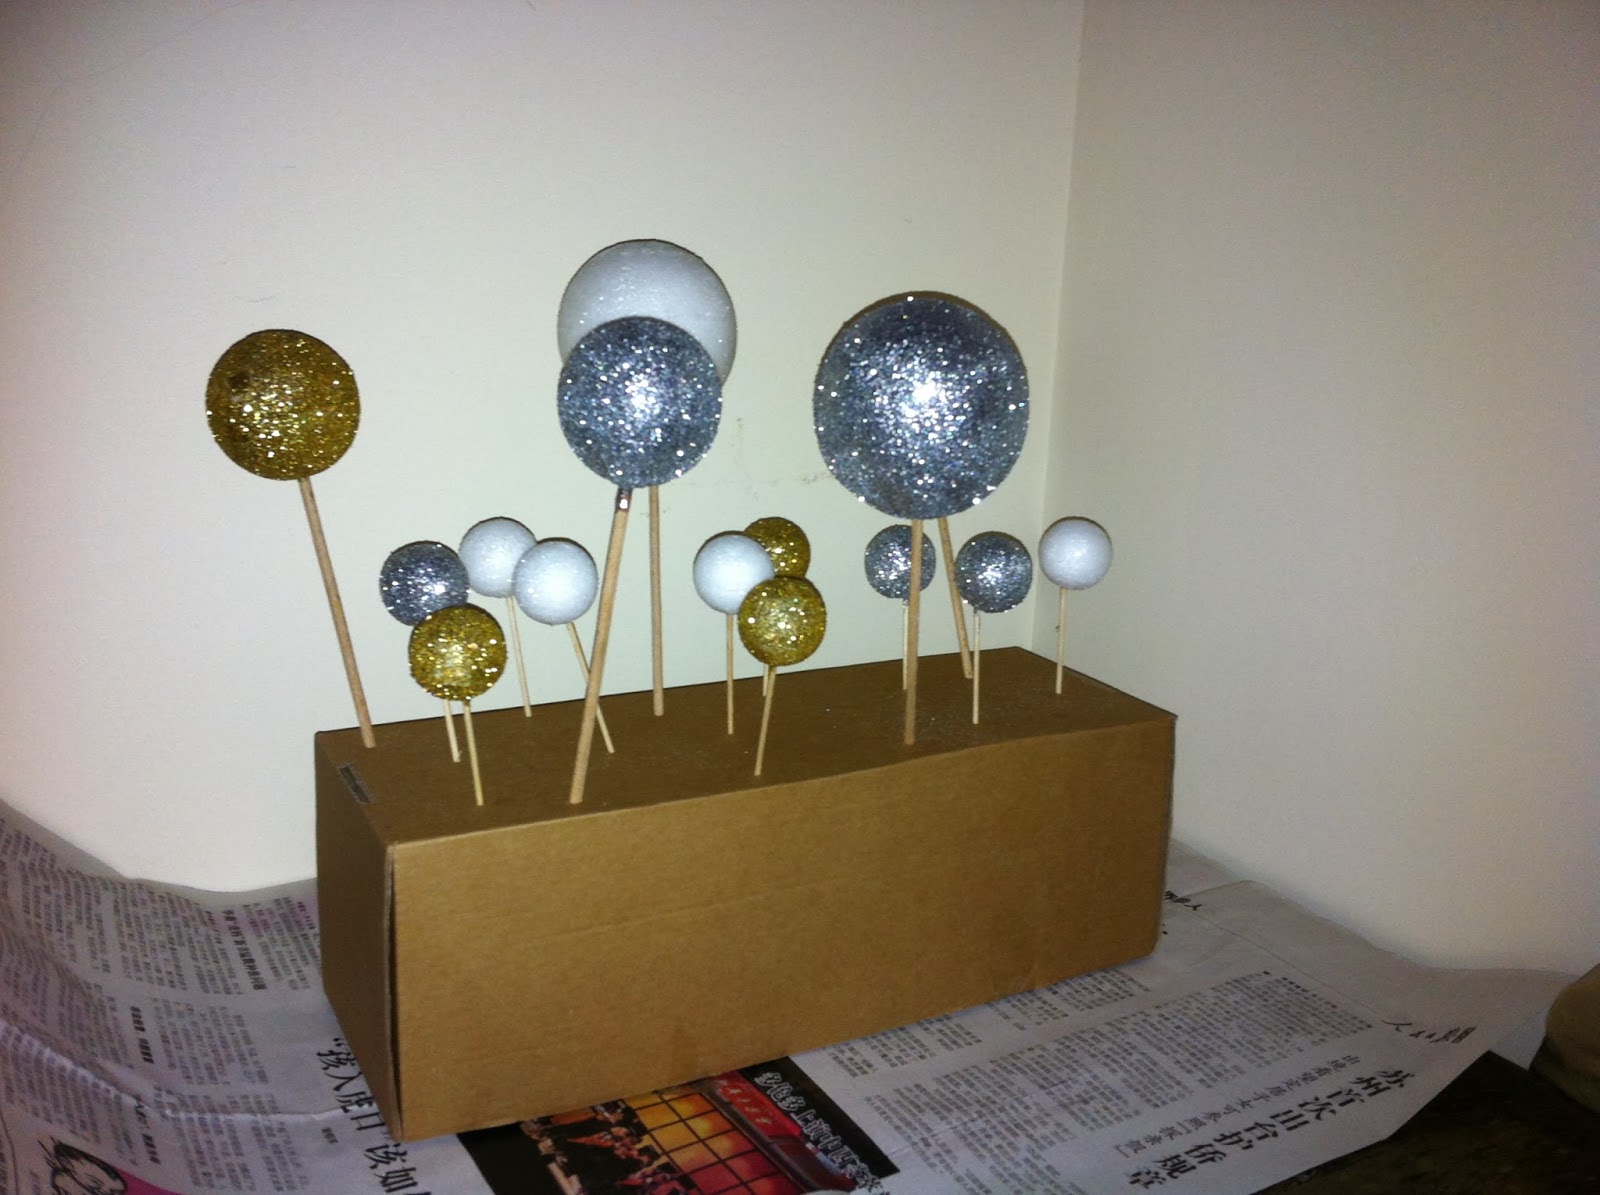
They were inspired by seeing an episode of Kirsty's Crafty Christmas and are really quite quick and easy to make. All you need is:
Polystyrene balls
pva glue
brush
wooden skewers and/or cocktail sticks (depending on size of ball)
glitter
bowls (to hold the glitter)
spoons (to spoon the glitter over the balls)
loose cover pins (for upholstery)
ribbons
old box
- First, use your skewers/cocktail sticks to make holes in the box ready to take the balls once they've been glued and glittered. Allow enough room between them so that the balls won't touch each other (but if you miscalculate, don't worry too much, you can always angle them away from each other)
- Next, skewer each of your balls ready to start painting the glue over them.
- Now the messy part starts. Cover your ball with pva glue. Try not to put too much glue around the base of the skewer or it may prove difficult to extract the skewer - but you want to ensure good coverage once the glitter goes on.
- Holding the skewer, you can now dip your sticky ball into the glitter. I put mine in various dishes and found some worked better than others, eg ramekins were a little too small and glitter ended up going over the sides. Round sides (eg pudding/mixing bowl) worked well as you can roll the balls in the glitter. It is also useful to have a teaspoon to hand to spoon glitter over the bits you can't dip in or any bits that get missed.
- Once the ball is completely covered in glitter, tap the skewer against the bowl to remove any loose glitter (I think you can do this quite hard as I still 'lost' a bit of glitter later in the process) and then push the skewer into your box to let the ball dry. This should be at least overnight.
- Next day, remove the skewered ball from the box and spray with hairspray to set the glitter.
- Now you can embellish them. After removing the skewer I pushed a loose cover pin (almost all the way in) over the skewer hole (just to make sure it is hidden - not all were that obvious though). I found that the pins were too long for the smallest balls, so I had to trim them before pushing them into the balls. Then thread a ribbon through the loop and tie (again - hiding the hole and the pin in one go). Form a loop and tie a knot or bow - et voila, a lovely, glamourous Christmas bauble.


No comments:
Post a Comment