Sunday, 24 June 2012

Neat and tidy

On my long list of jobs to do I've had one item for ages, namely making a replacement pouch for my manicure set.  I bought a handy little set at Superdrug to keep in my handbag a while ago and although it is very useful, it came in a rather boring black pouch.  Whilst it is quite a sturdy pouch in many ways, the binding around the edge has started to come away, so it was a good excuse to make a prettier one for myself.
Now, being an expert procrastinator, I've had this on hand-written 'to-do' lists week after week and on reminders on my mobile phone and computer and have continued to skip it.
Until the Friday before last that is.

We were going away for the weekend and I had a pretty long list of stuff to do to prepare, but I thought that I just had to get on with it and make this thing.  So, I did!

I'd used the 'old' one as a template for a pattern and had rummaged through my supplies to see what I fancied using.  Years ago I'd bought some Liberty print bias binding for something or other, but never used it, so I quite fancied having some of that for my pouch, but I didn't really have any fabric that was suitable that matched.  Then I had some lovely red Liberty print fabric that was big enough, but the bias binding I had that matched was too wide (and I didn't really fancy trying to cut it down).  In the end I went with a slightly impractical colour scheme of white and blue.  It will probably get filthy pretty quickly, but at least it is 100% cotton so it can go in the washing machine.  It is far from perfect, but will do as a 'prototype' for now and is actually big enough to hold my lipstick too!

Monday, 18 June 2012

Curtain up

One of my (many) crafting projects this year will be new curtains for our bedroom and living room.  We've chosen the fabric for both rooms, but are just waiting to get new windows organised before we put up the curtain poles and then make the curtains.  It is a long drawn-out process, but I'm sure it will be lovely when it's done.

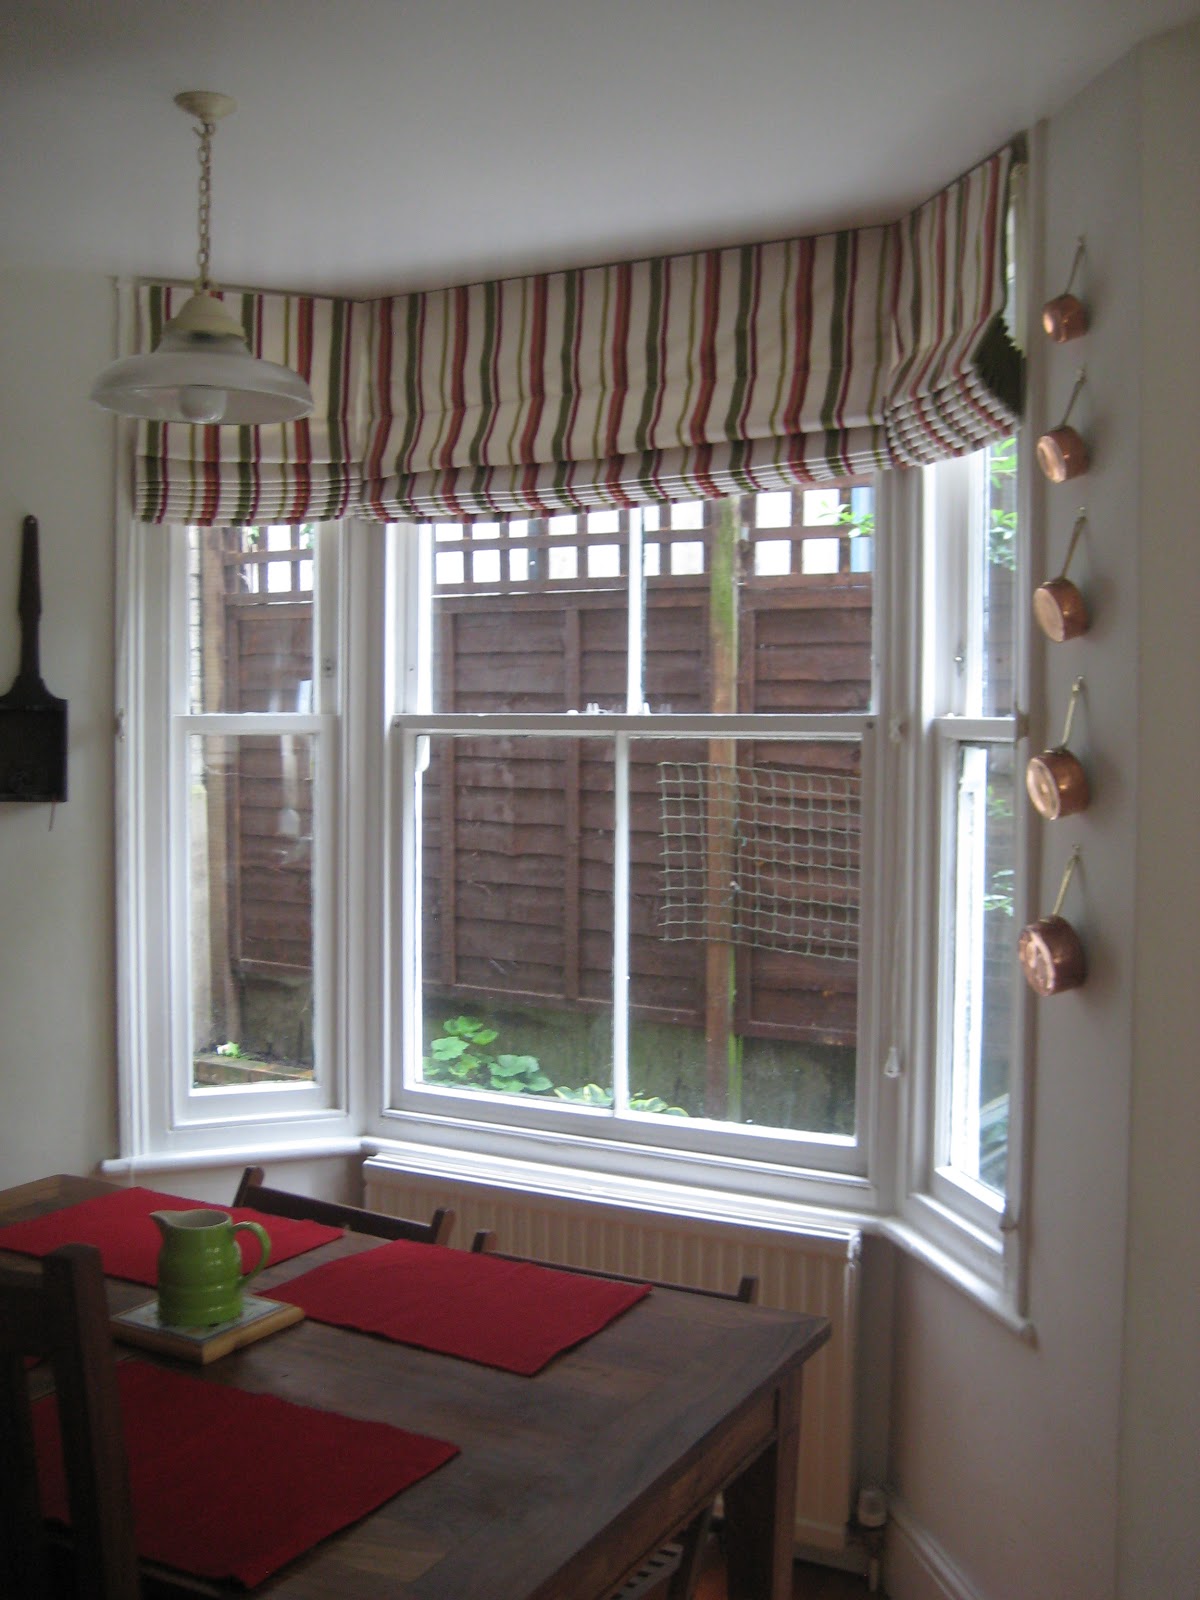
However, last year finished with my first 'make' for the house (we've been living here for almost 2 years now) - kitchen blinds. It was a fairly simple decision to make choosing what sort of window covering I wanted in the kitchen - plain, simple Roman blinds.  Then I'd got it in my head that I wanted stripes.  Friends of ours have some lovely stripey Roman blinds in their kitchen - totally the wrong colour for ours, but I'd got their fabric in my head and started looking for something similar in red and green (the accent colours we'd chosen for the otherwise plain, cream kitchen).

Who would have thought that finding stipes in red and green would have been sooooo difficult.  Red and blue - easy.  Pink and green - plenty.  But Green and Red - forget it!  We'd already started getting 'accent pieces' in a nice bright, pillar-box red and had some green bits too (not all the same type of green really, but it all seemed to work reasonably together), so that sort of tied us.

Thankfully, after trawling online fabric shops and fabric manufacturers, we finally found something suitable in good old John Lewis.  Not quite the pillar-box red I'd imagined, but lovely all the same.

After ordering the fabric and buying all the odds and ends to make the blinds work, it took me about 3-4 weekends to make them.  It was my first attempt at Roman blinds, and to be honest, I'm not sure I'll be making any more in a hurry (and I hadn't realised how difficult it was to sew in a straight line before).  But we are pleased with them (well, I will be once I've got over the critical-of-my-own-work stage).  The kitchen sounds so different now that they are up and it does brighten the place up a bit (it is fairly dark and north-facing).

So, here they are ....


Setting the table

I've been perusing some other crafty people's blogs recently (I'm being presumptious now and assuming that I'm crafty too!), and one of them reminded me of some napkins that I've half hemmed, but never finished (what's new?!).
Here they are:


So, that lovely blog inspired me to finally get my act together and finish them all some off.
Et voila!

So thank you Domestic Novice and may you (and I?) continue to inspire fellow crafters everywhere!

Tuesday, 1 May 2012

They're changing guards at Buckingham Palace...

Do you recognise the quote?  It is from "When we were very young" by A.A. Milne.  One of my Mam's favourites and quite appropriate because this post is about her brother who was a guard at Buckingham Palace and will be celebrated his 70th birthday recently.
So in honour of all of that, I'm stitched him a special birthday card.  Unfortunately it was too small to put the correct number and pattern of buttons for a Welsh guard, but I hope he'll forgive that small detail (in all senses of the words).
It was quite cute - eventhough I say so myself - and I added a '70' (one digit either side of the poor guardsman's head) in my own font.  I had a few aperture cards left from ages ago and a small red one suited it perfectly.  What a shame I forgot to photograph it in my rush to get to the post, but he was like one of these soldiers.

Friday, 13 April 2012

Trial and error

Well, after talking about it for ages, I'm finally getting down to lining the box for my mother in law.  It is here birthday next weekend, so it is now or never.

Phase one went really well.  I cut a circle of velvet larger than the padded base I'd made and used the sewing machine to stitch gathering stitches around the edge.  Then I gently pulled them to gather the edge so that it would fit around the padded card base.  And it looks lovely!  I'm really pleased with the choice of colour for the velvet and the feel of it is gorgeous.

Next step is the sides.  Now, the first attempt at this didn't go too well - the card was too short and when I tried to roll it to fit the inside of the box, it bent!  So, this morning I cut another length and clamped it to the outer edge of the lid of the box to curve it and left it while I got on with phase one.  So far so good.  I then cut a length of velvet about twice the width and a little longer than the card strip.  Then panic set in.  I thought the velvet was too short for the card!  Anyway, I was wrong.  I sewed the short ends of the velvet together to create a tube.  The next bit was a fiddle.  Trying to wrap the velvet tube around the card was difficult - it either slipped off or bent the card.  Again, with the help of some clamping I got there and on the reverse I pulled the edges together to get it as smooth as possible.

Now came the test.  Could I get the velvet covered tube inside the box and then fit the base in after?  It wasn't easy and at times I thought the tube was too big and I'd have to start again, but I got there in the end.  It isn't perfect and the velvet isn't quite as smooth and snug as I'd hoped, but it doesn't look too bad really.

The velvet lined box after phases 1 and 2

My only concern now is whether, with the added thickness of the velvet, I have enough space to make the  tray insert I'd planned.  While I think about it, I'd better hoover up all the velvet 'fluff' that is all over the floor and my clothes!

Tuesday, 27 March 2012

Royal School of Needlework

If you read some of my other posts, you will probably (hopefully) have gathered that I've been interested in embroidery for quite a few years.  Over the years I have been a member of a few associations, but only joined the Royal School of Needlework last year having admired them from afar for ages.
Since joining I've dreamed of attending one of their courses, and finally, at last, at long last (I think you get the drift!) I am going to one THIS WEEK!  Hip hip hooray!  I can't wait.
I have done different types of embroidery in the past, but mainly cross-stitch, so this was an opportunity to try something new.  They have plenty of choice of courses - I was like a child in a sweet shop to tell the truth - but in the end opted for one that will hopefully be a bit of a taster for a few different disciplines.  That way in the future I can choose another course to explore another style in more detail.  So, this Friday I will be at Hampton Court (and I'm in the middle of reading a Philippa Gregory book in the Tudor series too!) giving 'An Introduction to Embroidery' a go.  I'm so excited!!  Hopefully I will have calmed down enough by next week to let you know how I got on.  Keep your fingers crossed that it will be a nice sunny day too - maybe I'll be able to take some nice photos of the palace while I'm there!

Thursday, 1 March 2012

New look

Happy St. David's Day everyone!

I've been playing a bit with my blog.  What do you think?