Tuesday, 26 August 2014

House tour - part 4

Shall we go upstairs?!

Sounds a bit saucy doesn't it.  But actually, almost everywhere in our house is 'upstairs'.  From the front the house looks like a pretty average mid-terrace house with a bay window upstairs and down.  But at the back there are three floors!

So, we have about 6 stairs from the kitchen up to the entrance level/living/dining.  Then from the entrance level there are another 7-8 stairs up to a bedroom, bathroom and WC.  Then another 7-8 stairs from there up to another two bedrooms and then up another 4-5 stairs, finally to the top floor and another bedroom and box room.  It was exhausting when we first moved in, but we're used to them all by now.

The main difference upstairs is really the master bedroom, en suite and landing.  We had some board put down in the attic and in the process the top landing ceiling collapsed (not completely unexpected!).  So that was re-plastered and we replaced the attractive shelving around the water tank with some more practical cupboards.
Landing ceiling - beforeLanding ceiling - after
The en-suite was reasonable, but a vile colour.  However, we decided against keeping the bidet and replaced it with a shower cubicle, so the whole suite was shuffled around a little to make it work better.

Before - in germolene pink

Now - nice and calming

In a similar fashion to the water tank, the 'wardrobes' in the master bedroom had been rails hidden behind curtains, so Mr Door-man was employed again to build us some wardrobes.  His and Hers, either side of the (original!) fireplace.
It was great to find a house that our furniture would fit into.  We'd seen so many flats beforehand (and some VERY nice ones) that were only just big enough for our king-size bed (a collective wedding present) so that we'd have had to use the other bedrooms for wardrobes, chests of drawers etc. 

Thanks to our holiday in Turkey last year, we're a little closer to how we want this room to be now.  We've 'just' got the curtains to make and then choose a more suitable rug.  I have a feeling you may hear more about these curtains in the future!

Friday, 15 August 2014

Sing a song of sixpence ...

A while back I saw a Miss Marple episode called 'Pocket full of rye', which brought the old nursery rhyme back.  I don't really know why, but despite being a Welsh speaking family, I don't really remember many Welsh nursery rhymes from my childhood.  We were living in Chester at the time, so that is, presumably, part of it.

Anyway, if we 'sing' the whole nursery rhyme, we might get to the topic of this post ...
Sing a song of sixpence,
A pocket full of rye.
Four and twenty blackbirds,
Baked in a pie.
When the pie was opened,
The birds began to sing;
Wasn't that a dainty dish,
To set before the king?
The king was in his counting house,
Counting out his money;
The queen was in the parlour,
Eating bread and honey.
The maid was in the garden,
Hanging out the clothes,
When down came a blackbird
And pecked off her nose.
And before you ask, no, I'm not going to give you tips on catching blackbirds, or baking pies, but rather show you how I went about making a peg bag for my parents.

Many years ago I made a peg bag for my parents, which is now literally falling apart at the seams.  A little more recently (but not a lot) I made another with some cross-stitch decoration.  Unfortunately, this one is too small to hold all of DP's pegs, so I've combined the size of the old one with the design of the second to make another for DPs.

I wanted a finished bag that was the width of a standard coat hanger (the hanging 'mechanism' for DP's 'dying' peg bag and approximately 35cm) by 45cm long, so I cut a piece of fabric twice this length plus 1.5cm for each seam allowance by 45cm wide plus seam allowance. To add a bit of strength and give a better finish, I also cut another piece the same size in a plain 'lining' fabric.

I had decided to make the opening 15cm down from the hanger, so I measured 15cm plus the seam allowance from one end of the outer fabric and centrally marked a horizontal line the width (also 15cm) I wanted for the opening.

As I wanted to embroider around this opening, I then tacked some scrap embroidery/tapestry canvas onto the right side of the fabric to act as a guide for the cross-stitching.  Unlike the original bag, I decided to pick out two colours from the fabric and embroidered the design beneath the opening in one colour and the text in the other and then alternated the colours for the peg designs either side of the text.

Now that the embroidery is complete, with the right sides of both fabrics together, I sewed a narrow rectangle around this horizontal line.  I then drew lines diagonally from the central line to the corners of the stitching, to mark the cutting lines.  Carefully, I cut through both layers and press the seam allowance towards the lining fabric.  If possible, understitch the seam allowance to the lining as closely as possible to the seam.
Pulling out the softened waste canvas - took FOREVER!

Now turn the fabrics the right sides out.  Fold the lining fabric up in half, pin and tack and stitch up the two sides and trim the seam allowance.  NOTE - don't sew across the top of the lining yet! You could sew a slightly wider seam allowance on the lining so that it is a fraction smaller than the outer bag and thus reduce some of the bulk in the seams.


Next, pin and tack the outer fabric, right sides together, and stitch up the two sides (with a slightly narrower seam allowance than used for the lining, again, trim the seam allowance.  You should end up with two bags attached at the opening, a bit like 'conjoined bags'.
Understitching the opening of the bag

After pressing both sides, turn the outer fabric bag right side out, over the lining bag.

Carefully, fold down the top section of the outer bag to free access to the lining bag.  Insert the hanger just inside the lining and pin/tack the seam allowance along the curve (if it has a curve) of the hanger.  Carefully stitch along this line, taking care not to damage the machine/needle with the hanger!  Trim the hem.

The outer bag can now be unfolded over the rest of the bag.  Turn the seam allowance in along the upper edge of the hanger and hand stitch (slip stitch) closed.

Et voilĂ !

Monday, 4 August 2014

A 'blinding' cushion!

With all my repairs and mending out of the way now, I have no excuse to avoid getting on with a new blind for the kitchen.  As you know from ..... after replacing the windows I had to alter most of the blinds to fit the new frames.  Unfortunately though, one blind was just too short and too narrow for the new window, so I had no choice but to start from scratch.  Thankfully when we ordered the fabric we didn't realise that we'd be able to get two of the bay window blinds out of one length of fabric - so, we have enough spare for the new blind :-)
Trying to decide how I want the stripes to lie
But I really didn't want to waste the old blind (must be something to do with being brought up with parents who grew up during WW2!).  So I've decided to unpick it and use the fabric to make a cover for a cushion for our 'new' pew in the kitchen.

Following the advice of my friend, Bette Noire, I bought 2" thick 'recon' foam and 1" thick foam for the top layer. It was an added bonus that the supplier (amusingly called Pentonville Rubber!!  I've had such fun posting my visits on Facebook just to see what comments I'd get!! ;-)  ) was able to glue the layers together for me, and save me a job. With an electric carving knife, I cut the two layers to shape along the front edge - fun but bizarrely difficult to keep it vertical, so they're not perfect, but hopefully once covered no-one (unless they read this) will be any the wiser.

I made the top and bottom to match with the stripe going along the width of the bench/cushion and cut the strips for the sides along the stripes too, rather than across them.  It would mean that I'd need to be careful to stitch them carefully so that the stripes don't end up wonky though!

The edge strips were cut to be long enough to go around the front edge, the two short side edges and part-way around to the back edge.  The remaining gap would be made up of two strips, half the width of the whole so that a zip can be incorporated.  Unfortunately, getting a long enough zip in the right weight was a bit more difficult than I expected, so I decided to buy two.  It was a case of a) getting all the materials ready so that when I had the time, I could just get on with the job, and b) thinking (or hoping) that it may actually make life a bit easier to have two zips that meet at the centre.  We shall have to wait and see.
The zip section ready to
be added to the edge piece
I was undecided about what to do about the piping.  I was torn between having a contrasting bias binding (red or green - undecided there too) and making my own out of the same fabric as the rest of the cover.  In the end, I decided to stick with the stripes as a) I didn't think I'd be able to find the right shade of red/green bias binding and b) I had enough fabric left over.
First round of piping complete
Again following Bette Noire's advice, I practiced applying the piping on some scrap fabric as I'd never quite managed to get it right in the past.  It was a fiddle, but following a few attempts I decided to give it a go on the real thing.

It isn't perfect, but I'm quite pleased with the outcome.  And the pew is a lot more comfortable now :-)
Blinds and matching cushion on our chapel pew,
with matching collection box (hanging on the wall on the left!)

Tuesday, 29 July 2014

House tour - part 3

Hi remember me?  Probably not as it has been so long since I've been here.  Sorry!  It's been a bit of a manic few months, but I hadn't forgotten about you - honestly!  So, while I get myself back on track a little, here's a little tit bit to keep you going.
**********************************

In my last 'House tour' instalment I told you about the big building work in the kitchen, but also mentioned that the other 'heavy' work happened downstairs, in the living/dining rooms.

We didn't want to do away with the wall between these two rooms completely, but we did want the flexibility of being able to use them as one room if we wanted.  So we opted for a doorway between the two rooms. 

Initially I fancied getting some reclaimed doors and to build the doorway around them, but it wasn't quite as easy as it sounds.  In the end, we had bespoke doors made and are very pleased with the result.

We're both keen readers and have lots of books, so it was essential that we had plenty of space to store/display our books.  In fact, for DH it was more than essential (if that is possible!).  The two alcoves either side of the fireplace in the living room were perfect for some bookcases.  We looked at ready-made ones and couldn't quite find what we'd pictured in our heads for a price we could afford and so the 'door man' also built these for us.

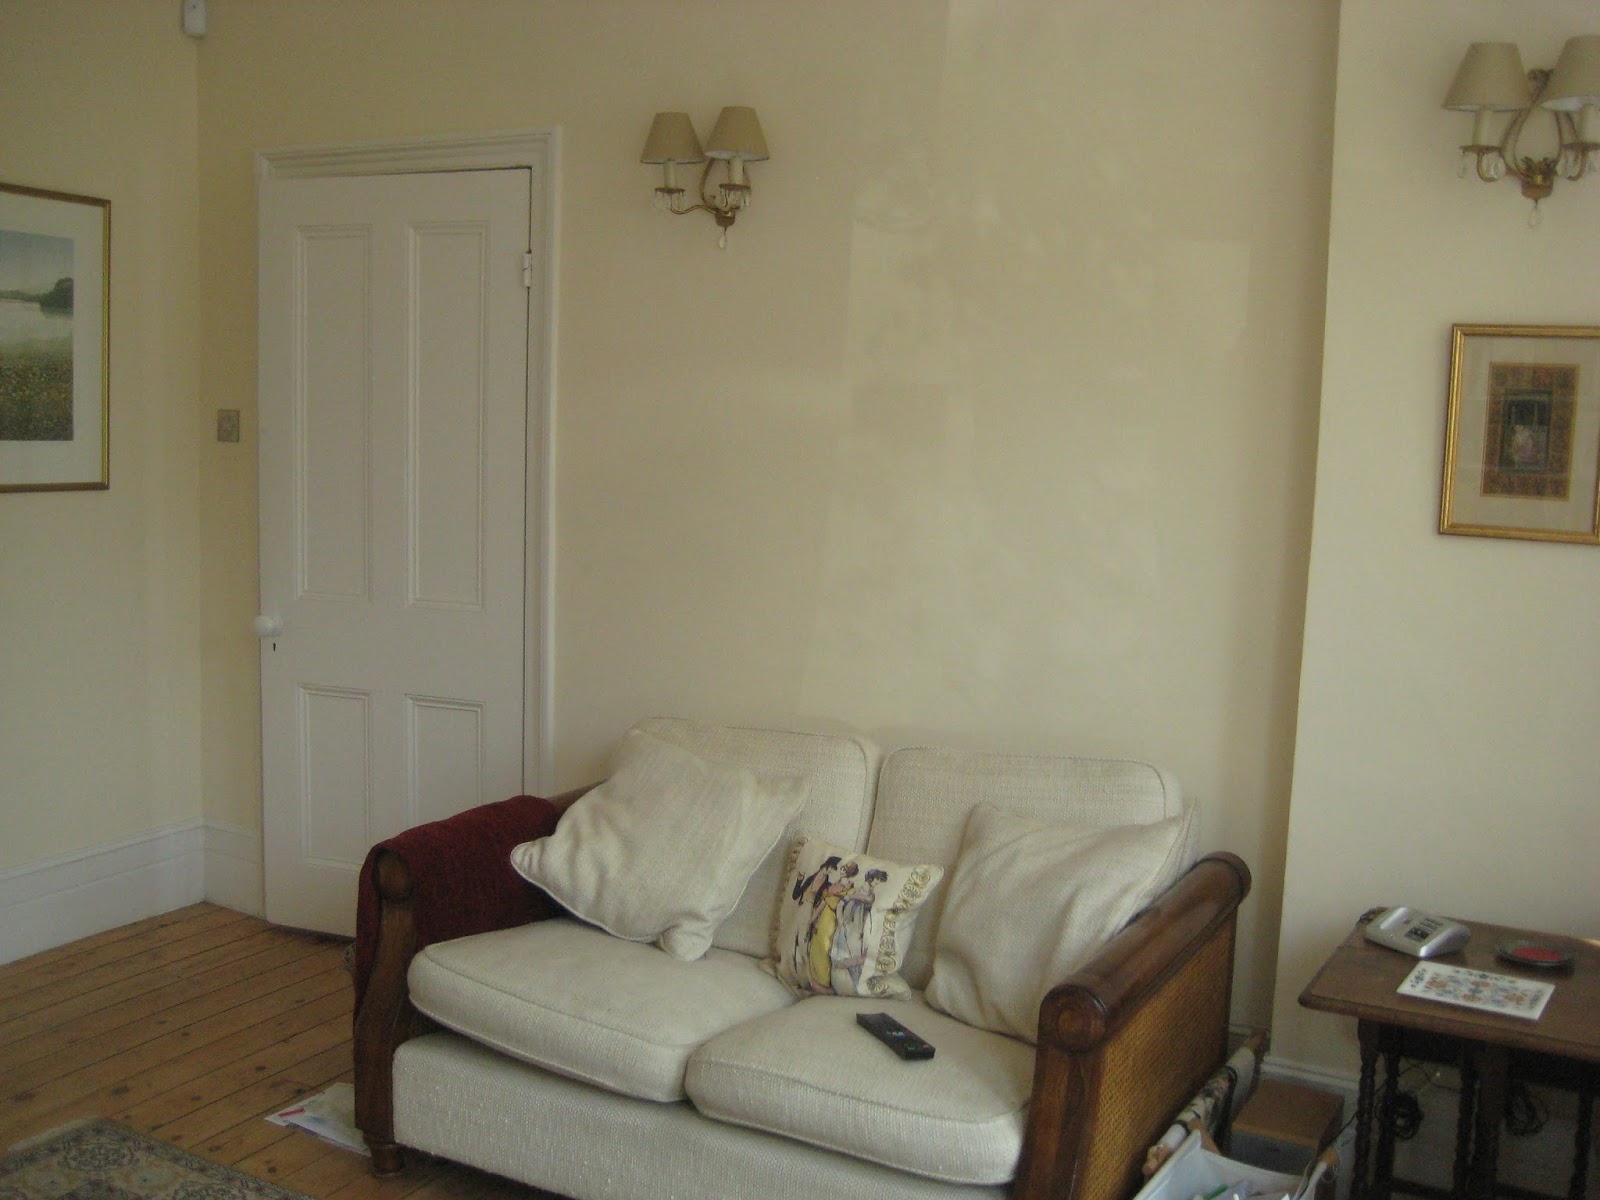
So, here is (more or less) how our living room looks now:


And our dining room:

One day we'll have the original French windows in the dining room restored too.  They're far too nice to replace, although we've yet to decide whether or not to have a little balcony or some stairs leading down from them into the back garden (who's idea was it to remove the originals?!?!?).

Monday, 31 March 2014

Sewing Revolution

Although I've been a bit distant here, I've been trying to do a bit more social media and have started tweeting a little (@SiwanH in case you want to know!) and have one of this year's contestants has been tagging #sewingrevolution.

So last weekend, I took inspiration from the 'revolution' and got on with it. Having finished the kitchen blind to complete the collection (most of the job was DIY as I'd done most of the sewing already).  Once that was up, I braved a new concept for me - upcycling.

I've never been all that confident at altering clothes, so the thought of somehow reusing the fabric from a garment to make something completely new was rather daunting.  But having been brought up by two war-time children, I find it difficult to throw something out that may have a 'second life', and I've been piling up DH's worn out work shirts for a while in the hope I'd be brave enough to make something out of them.

Not wanting to start too big, I opted for Colette's Sorbetto top - a popular pattern from what I've seen online and a favourite of Lauren from last year's Sewing Bee - and also my first foray into online patterns.  Having taken my own measurements, compared them to the chart with the pattern, I traced the correct size onto tissue paper.  Not as difficult as I'd expected :-)  I then made up a toile out of some left over curtain lining fabric (or something) to see how it suited.  And apart from being a bit loose, it was ok.

Ok, I admit, I did have a bit of a melt-down with DH because I couldn't work out how to alter it to stop the armholes gaping.  But a cup of tea and a hug (or two or three, or four!) later, I retraced a smaller size and started again, with a better result.  The fit still isn't perfect, but it is at least passable.

So, on to the Real Thing.  I chose a shirt and tried fitting the pattern onto it.  I knew that the pleat at the front may have to be sacrificed, but in the end I opted to keep the buttons/placket and move them to the back and have a plain front.
trying to decide which binding to use

Almost finished (except for some girly buttons)
So, now it is onwards and upwards.  I'm certainly going to give the pattern another go, although I'm going to try and alter it slightly by moving the darts to a better position for me.  So it is just a question of which shirt I should upcycle next?

Thursday, 27 March 2014

Commission update - Snowdrops

Along with everything else in my life recently, my commissions have taken a bit of a back seat.  But with the New Year, new-found energy (if it lasts!) and getting rid of my back-log of odd jobs, I'm getting determined to get back on track with the last commission of 2013.

My last update about it was months ago.  So HIGH time for me to be getting on with it again.  Over Christmas I was, at least, able to touch base with the commissioner, and I think they were rather surprised that it was as big as it is.  In fact, I suspect they hadn't expected me to go to quite so much trouble with the border (which is going to be quite prominent).

Progress has been slow until fairly recently, but I'm now fairly happy with how it is coming along now. Getting the first corner right was a little complicated and took longer than I'd expected.  I had made two versions of the chart to see which looked best, but even so, when it came to stitching it, it changed slightly. I'm a little disappointed that there isn't more of a contrast between the fabric and the white of the snowdrops. I'll have to see how it goes, but I may end up outlining them so they stand out more.

I'm expecting the stitching of the poem in the central space to be quite a quick job after the wide border though.  Let's keep our fingers crossed!

It is a good feeling to have turned a corner (excuse the pun!) and realise that I'm over half-way through the border now.

Tuesday, 25 March 2014

House tour - part 2

Following on from an earlier post, here's more on our renovations.

Downstairs, or the reception rooms is where the majority of the heavy work was done.

Originally it was four rooms - living room, dining room (or study, as the vendors had it), breakfast room and kitchen.  The kitchen was pretty small and dark.  I later discovered that the kitchen would originally have been three rooms - a (very) small kitchen, a pantry and an outside toilet - that had been knocked into one.  But for us, it was still too pokey, so we decided to knock the wall between the kitchen and the neighbouring breakfast room down to create one large room.

The original kitchen
The breakfast room
The work in progress!
This was a huge job and took quite a lot of time, but eventually it was ready for the new kitchen units and appliances.

It faces north, so I was concerned about light in the room and opted to go for light units and light wall tiles.  Not a common combination these days, but we'd seen a very similar kitchen in New York and it looked great.  It was MUCH smaller and also had light floors and work surfaces, but we decided to go for a bit of contrast to vary things a little and chose a wooden work surface (which hopefully reflects the floor boards in one half of the room).  We decided that the 'work' end of the new kitchen, which had been the original kitchen, would have a tiled floor and that way we would also 'show' a little of the house's history by delineating the two rooms we'd knocked into one.

If you've been reading this blog for a while, you will know that one of the earliest 'house' posts was about the blinds I made for the kitchen, which were recently altered to suit the new windows installed last spring, so it now looks like this.