Tuesday 28 February 2012

French chic

A rather unusual gift I got this Christmas was from my Breton friend - a leather tassel.  Now, I must admit that I didn't really know what to do with it, but a note from my friend said that they were all the rage in France when worn on a chain.  I wasn't convinced until I saw said friend's mother (and maker of said tassel) wearing one herself - and now I'm a convert.  I also got two leather bracelets from her as a bonus.


My friend's mum is a hugely talented crafter and over the years I've had quite a few beautiful gifts from her.  She painted pebbles for her daughter's wedding as 'place cards' and personalised each one!


One year she made angels out of wooden clothes pegs to decorate the Christmas tree - I'm sure it looked stunning.  And amongst the other lovely gifts she's given me I've had Liberty print hankies and fabric shoe-horns (unfortunately the mice in our flat loved the stuffing, so they have now been thrown out!).  Aren't I lucky to have such a generous crafting friend?  Merci pour tous!

Monday 27 February 2012

Box update - the plan

Now I have a much better idea of what I want and how I'm going to go about it now. 

I'll try to add photos so that you can follow my waffle a bit better, but until then ...

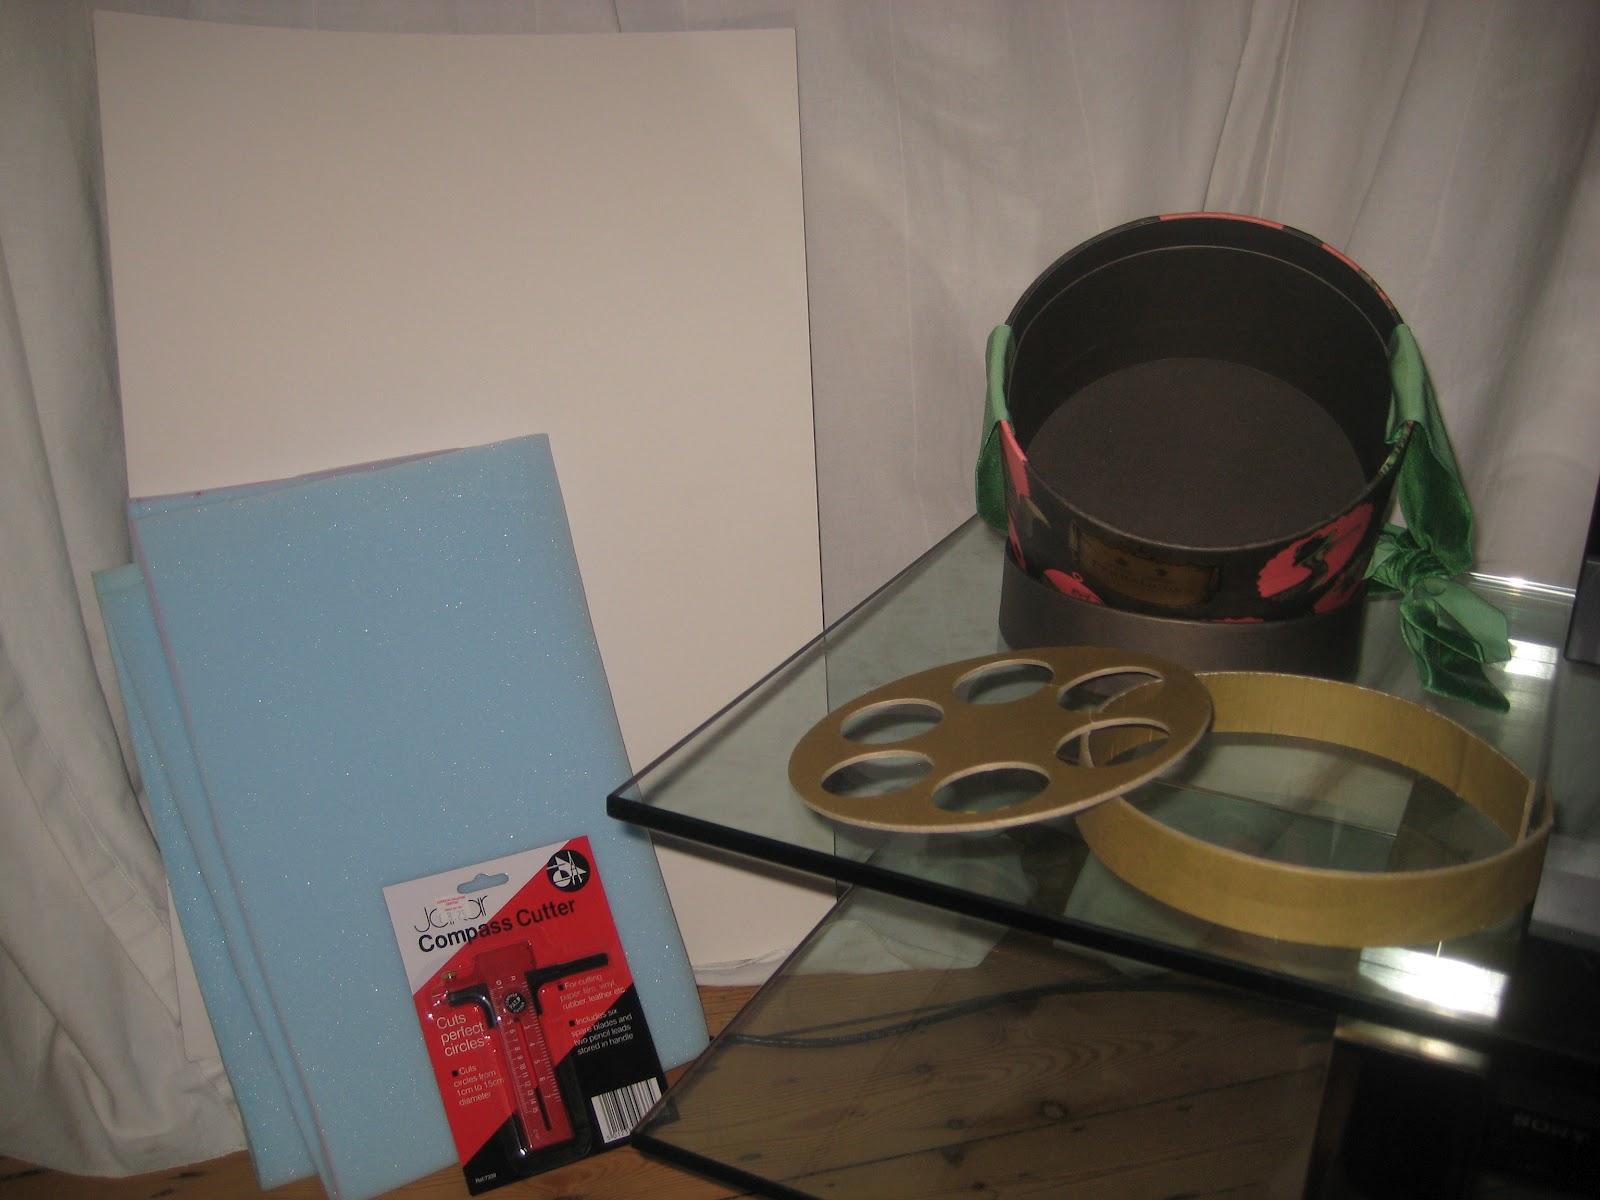
The box as it is now (see photos here):
The box is cylindrical.  The lid drops into the body of the box, rather than drop down over the outside of the box.  Now, so that the lid doesn't fall right into the box there is a thicker part to the bottom 2/3 of the box and the lid sits on top of this.  So I have the space between the bottom edge of the lid and the bottom of the box to play with.  When the box was bought it contained some lovely toilettry bottles and these were kept in place by a circle of thick card with holes in it for each of the bottles.  This was held up from the bottom of the box by a strip of similarly thick card, which 'propped' it up (as a result, the bottle bottoms dropped down through the holes to the bottom of the box and the upper half of the bottle 'peeped' out of the circles cut in the larger cirle. With me so far?

The science bit (now concentrate!):
I want to separate this space into two and make a lift-out tray, so, I've measured the depth of the box (before the stop for the lid) and I'm going to use the strip that came with the box as the sides for the lift-out tray.  So, depth of box below 'lid-stop' minus depth of lift-out tray equals the depth of the comparment in bottom of box (or the depth of the strips I need to cut).  Are you following?

The plan is that I'll insert a double thickness of card around the inside of the box as a 'stop' for a removable tray (so it won't drop to the bottom of the box).  Now, I have a question/query about this.  The intention is to cover all these bits of card with velvet.  The card I bought isn't as thick as the original 'innards', so do I a) use a double thickness for the 'tray stop' then cover with velvet, or b)  would be that the thickness of the velvet be enough so that I only need to use one thickness of card?

Once I've cracked the 'lid-stop' I'm going to use a circle of card, glue a thin piece of upholstery padding to it and cover it in velvet.  Then this padded, velvety circle will drop (I hope it will be that easy) into the bottom of the box.  And hey-presto - I'll have finished the bottom compartment of the box.

When all this is done, I can move onto the 'lift-out tray'.  My plan is to use the innards that came with the box for this.  I'm going to stick the strip to the edge of the card circle (which I may replace with a new circle as the cut-outs in it may cause a bit of an issue).  I'll probably use something like a 'papier mache' technique of small pieces of paper to glue it at right angles to the circle, little by little.  I'll probably add a circle of padding to the tray before covering it too.

Now, for the covering.  I guess it would look best if I cut a strip of velvet that is wide enough to cover both the inside, edge and outside of the tray edge and sew it to a circle for the inside of the tray.  Then, carefully glue it to the inside of the tray, over the edge and down the sides, before hand-stitching the bottom circle to cover the underside of the tray.  PLEASE get in touch if you have any better suggestions.  This bit is scaring me a bit!!  If I remember (!) I hope to add a couple of small loops to the inside/top so that the tray can be lifted out easily.

Wednesday 22 February 2012

Pandora's box?

Christmas 2010  - I was hit by (mild) panic a couple of days before The Big Day when we realised that my parents (who were coming to us for Christmas) had left home without our Christmas present for my mother in law (which they were to collect from the picture framers)!

Next stop - v. nice toilettry shop to buy 'substitute' Christmas present.

Quite fortunately this went down very well and also came in a lovely gift box with a gorgeous velvet ribbon bow to boot.

So, this year it's time for me to 'convert' the gift box into a jewellery box for my mother in law.  Now, I've never done anything like this before, but I'm pretty good with diy/handy stuff, so I've a vague idea how I'm going to do it.

However, it would all be so easy if the box was square or rectangluar, but no! it is circular!

Quite handily, it came with some 'innards' that I'm hoping to convert into a pull out tray (what have I let myself in for?!) and I've got some (thin) upholstery foam from Ebay to give some padding.  All I need now is some more thick card, velvet to match/coordinate with the box exterior and some time and patience to put it all together!


Wish me luck!

Monday 20 February 2012

Sampler design

I thought it was about time that I gave you an update on the sampler designing I mentioned in my earlier post.  Not that there is an awful lot to report.  It has been slow, to say the least.
I'm reasonably happy with the design.  It was a bit of a fiddle copying out all the various bits I'd found to create a comprehensive (I hope) whole.  I'm really looking forward to getting our new computer so that I can start using design software for this stage.  But adapting the design of 'big brother's sampler' was quite a good way to start, I think.
The next step was choosing colours.  Now, this is when I think the design software would have been REALLY useful.  Unfortunately, I don't have silks for all the colours I've chosen so far, so it is a little difficult to tell whether or not they'll all work together yet.  At the moment, what I have looks a bit 'bitty', but once I get the 'main colours', hopefully it will all start to look a bit more like a design (rather than a a bad jigsaw!).
Sorry - no photos this time.  I'll try to include one in the next update - once I have all the silks etc - so that you can see how I'm getting on.

Monday 13 February 2012

A sample of samplers

As I think I've mentioned, I've been embroidering for years and years.  It all started when I was about 8 and I found an old biscuit tin of my late grandmother's full of embroidery silks.  I asked my mother what they were for and she explained and showed me ... the rest as they say is history!

I've been hooked ever since.  I think the first thing I embroidered was an unfinished tray cloth of my grandmother's (she died a year before I was born and was a seamstress and milliner).  I showed it to her sister and the following Christmas I got an embroidery kit for another tray cloth from her.  I still have both of them.
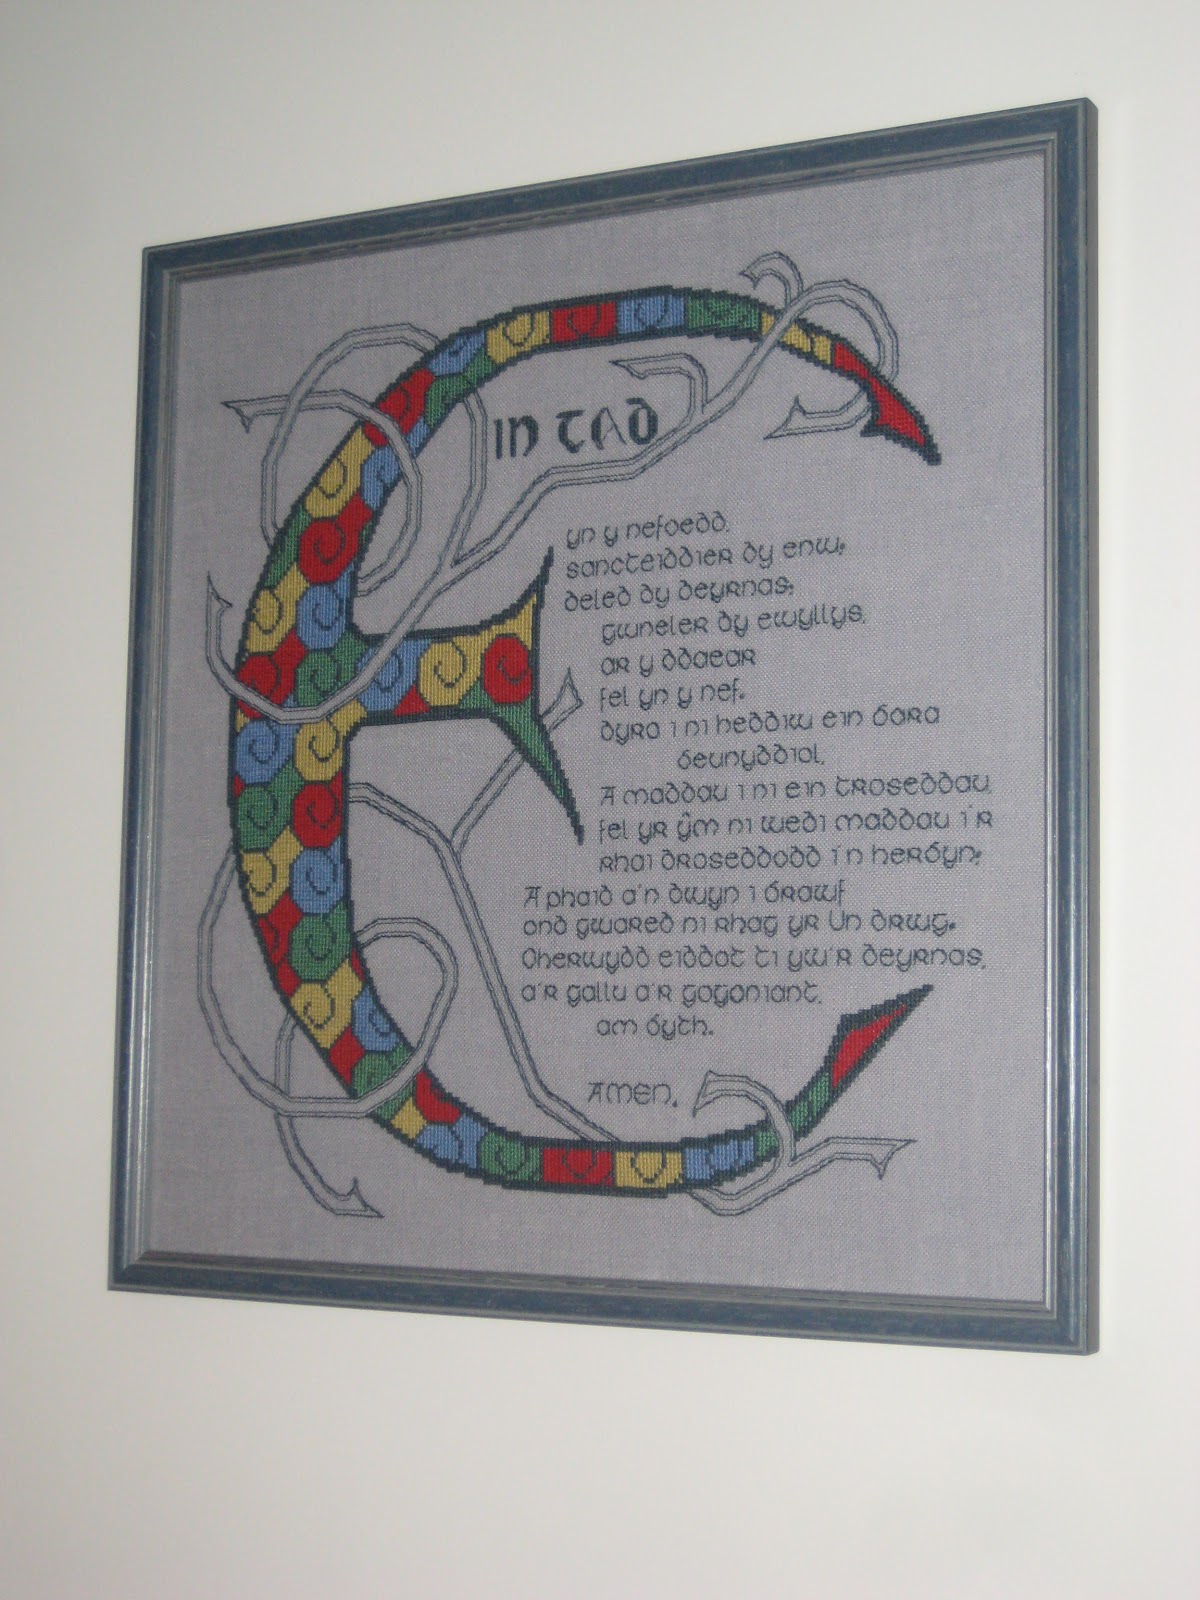
I've made sampler, followed by sampler, followed by picture, then another sampler ... you get the gist.  I'm ashamed to say that most of them are kits and not my own designs.  I've been a bit reluctant and unconfident about designing my own.  I have, however, made a number of friends samplers to celebrate weddings and births (but not for my sister, as she keeps reminding me!).


And that is where you/this comes in - I hope. 

Three years ago I made my (then, soon to be) brother in law and sister in law a sampler as a wedding present.  Then my mother in law asked for one too.  And last year I made two birth samplers for my cousins' children.  So, in a way, I'm on a roll. 

Then a friend recently asked if I'd make one for her daughter as a 'pair' for the one I made her son when he was born.  Embarassingly, I'd intended to make one when her daughter was born and had even bought the materials, but never got around to it (this seems a bit of a theme in my creative life!).  So, now I've embarked on my first true commission.

I'm not going to make the sampler I'd originally chosen and bought the materials for.  Instead, I'm going to adapt the design of her brother's - so this is a step towards designing my own!


New Year reading

I'm sure many of you have had some lovely handicraft books for Christmas or in the January sales and as I've seen other bloggers do the same, I thought I'd share with you the pile that is currently sitting next to my bed to tempt me.

I got two book from my sister this Christmas, the Liberty Book of Home Sewing and Made in France: Sweet Treats in Cross Stitch.  I've always been a bit of a Liberty fan and collected items in one of their tana lawn patterns for years (until it was discontinued - sob!), so this book was bound to tempt me.  The projects in it are all gorgeous and look stunning in Liberty prints.  I'm sure they'd be lovely in other prints too, but it is difficult to beat good old Liberty (in my opinion anyway).  I'm not sure where I'll start with them, but my mother-in-law has already asked for one of them as her Christmas present this year (plenty of warning!).  I was quite tempted by a quilt though.  I've fancied making one for years, but always been a bit scared by the scale of it.  But this book has persuaded me to start collecting Liberty prints to make an heirloom quilt for our bedroom.

The second book, Made in France: Sweet Treats in Cross Stitch by Tinou Le Joly Senoville, probably isn't one I'd have gone for if I'd seen it in a shop, although I'm sure I'd have enjoyed thumbing through it.  But, once again, there are some lovely projects in it.  They're all sweet-related (really?!!) with a bit of a  French twist - macaroons, French slogans, the odd Eiffel Tower, and in really pretty LadurĂ©e macaroon colours.  I think I may try to adapt some of the Christmas charts for some decorations and use up some more of my stash of crafting supplies in the process.  I'll try and keep you posted on my progress - if I make any!

The third book is one I found in one of those bargain book shops, although it wasn't reduced by all that much.  It is Scandinavian Needlecraft by Clare Youngs.  This is a completely new style for me, but the Scandinavian style is so clean and fresh it was sure to appeal to me.  And there's a Swedish connection on my husband's side too, so I felt I was supporting the 'team' at the same time (well, that's my excuse and I'll stick to it!).  Once again there are some gorgeous projects - many using felt and various embroidery stitches (running, whipped backstitch, french knots ...) which is a change for me from my usual cross stitch.  There are some delightful little felt baby slippers, which would be lovely to enlarge, but I may just find a use for the emblem on them instead.  I love the felt Christmas decorations too (yes, I have a bit of a thing about Christmas decorations from central and northern Europe!) and some may creep on to our tree next time around.  They'd be great gifts too, as they'd be so light to post.

Other craft reading material I love is Martha Stewart Living magazine.  If you aren't familiar with it, it is packed full of home-making tips and ideas, from organising cupboards and drawers to bunting for parties/celebrations and recipes.  This month she had me drooling over the 'home making room' and all the beautifully organised shelves and cupboards she has there.  Just the thing for the organised person in me trying to get out!!