Showing posts with label cross stitch. Show all posts

Thursday, 27 March 2014

Commission update - Snowdrops

Along with everything else in my life recently, my commissions have taken a bit of a back seat.  But with the New Year, new-found energy (if it lasts!) and getting rid of my back-log of odd jobs, I'm getting determined to get back on track with the last commission of 2013.

My last update about it was months ago.  So HIGH time for me to be getting on with it again.  Over Christmas I was, at least, able to touch base with the commissioner, and I think they were rather surprised that it was as big as it is.  In fact, I suspect they hadn't expected me to go to quite so much trouble with the border (which is going to be quite prominent).

Progress has been slow until fairly recently, but I'm now fairly happy with how it is coming along now. Getting the first corner right was a little complicated and took longer than I'd expected.  I had made two versions of the chart to see which looked best, but even so, when it came to stitching it, it changed slightly. I'm a little disappointed that there isn't more of a contrast between the fabric and the white of the snowdrops. I'll have to see how it goes, but I may end up outlining them so they stand out more.

I'm expecting the stitching of the poem in the central space to be quite a quick job after the wide border though.  Let's keep our fingers crossed!

It is a good feeling to have turned a corner (excuse the pun!) and realise that I'm over half-way through the border now.

Saturday, 11 May 2013

Key to it all

Now, how many of you realised that cross stitch was hi-tech?!

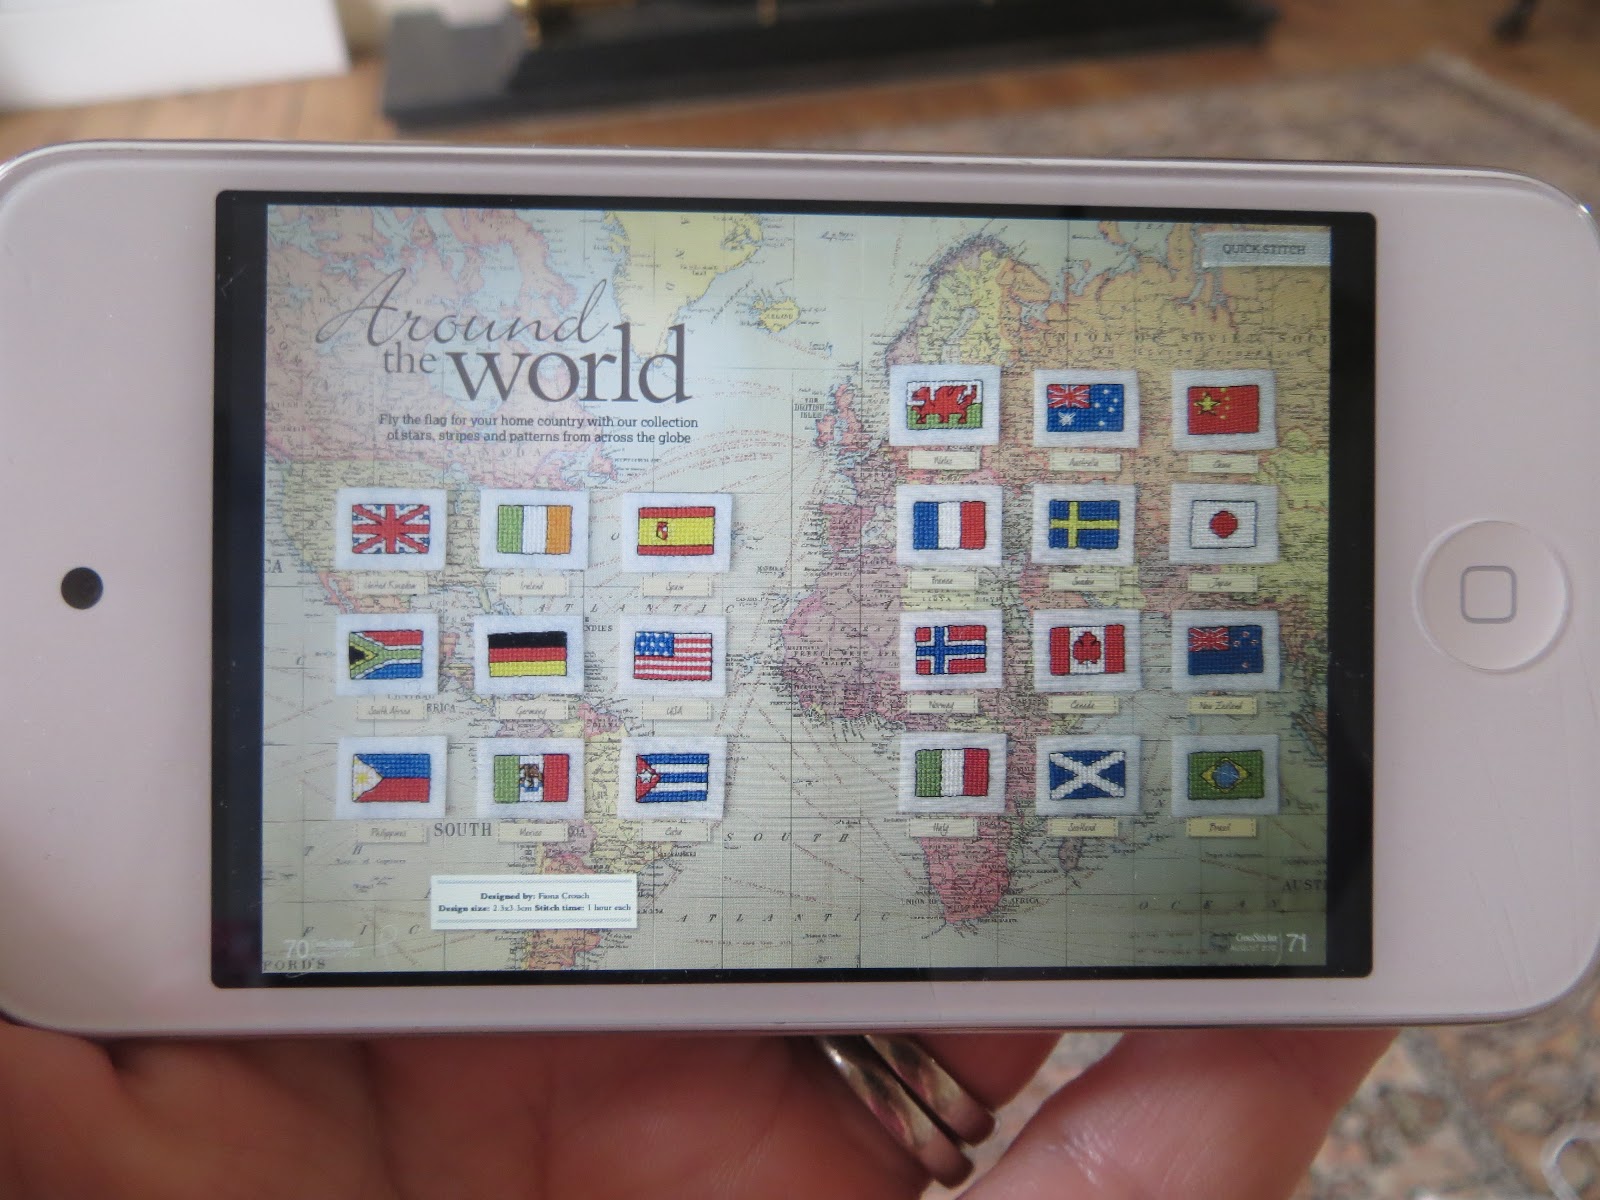
Well, believe it or not, I've been stitching these keyrings/magnets with the help of my DH's i-Pod!!!
Thanks to the 'newstand' app, I can now get my favourite cross stitch magazine on my i-Pod and take my patterns with me whereever I go!  How fab is that?!


But returning to lo-tech, here's another keyring I stitched on another train journey as a gift for MIL.  I did cheat by copying a photo of a larger cross stitch, but 'downsized' it to fit the keyring by stitching over one thread of evenweave.  I initially intended to use Aida, but I just couldn't get all the detail in.  Surprisingly, it was less of a fiddle stitching such tiny stitches than I expected and I think it is rather sweet.

Sunday, 14 April 2013

Snowdrops

At the beginning of the year I told you about commissions I'd received.  I must admit that it has taken me longer than I expected to finish the first.  Well, I've finally started work on the second.

It is an embroidery of a poem written especially for a friend of my BIL's when she was presented with a special award at the Welsh National Eisteddfod.  Her name means 'snowdrop' in Welsh, so he's requested a snowdrop border for it.

After much searching in books and online, I finally fell for this Art Nouveau one from this book.
My needlework book collection - well, some of it!
And for those of you who aren't very familiar with plotting cross stitch charts, this is the process I followed:

After choosing a font I liked, I plotted the words of the poem on grid paper.  Once I'd finished that, I worked out the centre of the poem (dividing the number of squares the width of the words takes by 2 and ditto with the height of the words) and marked that on the chart.

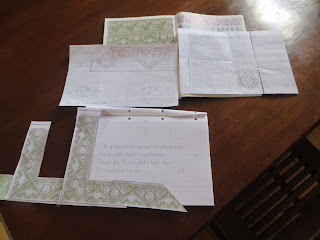
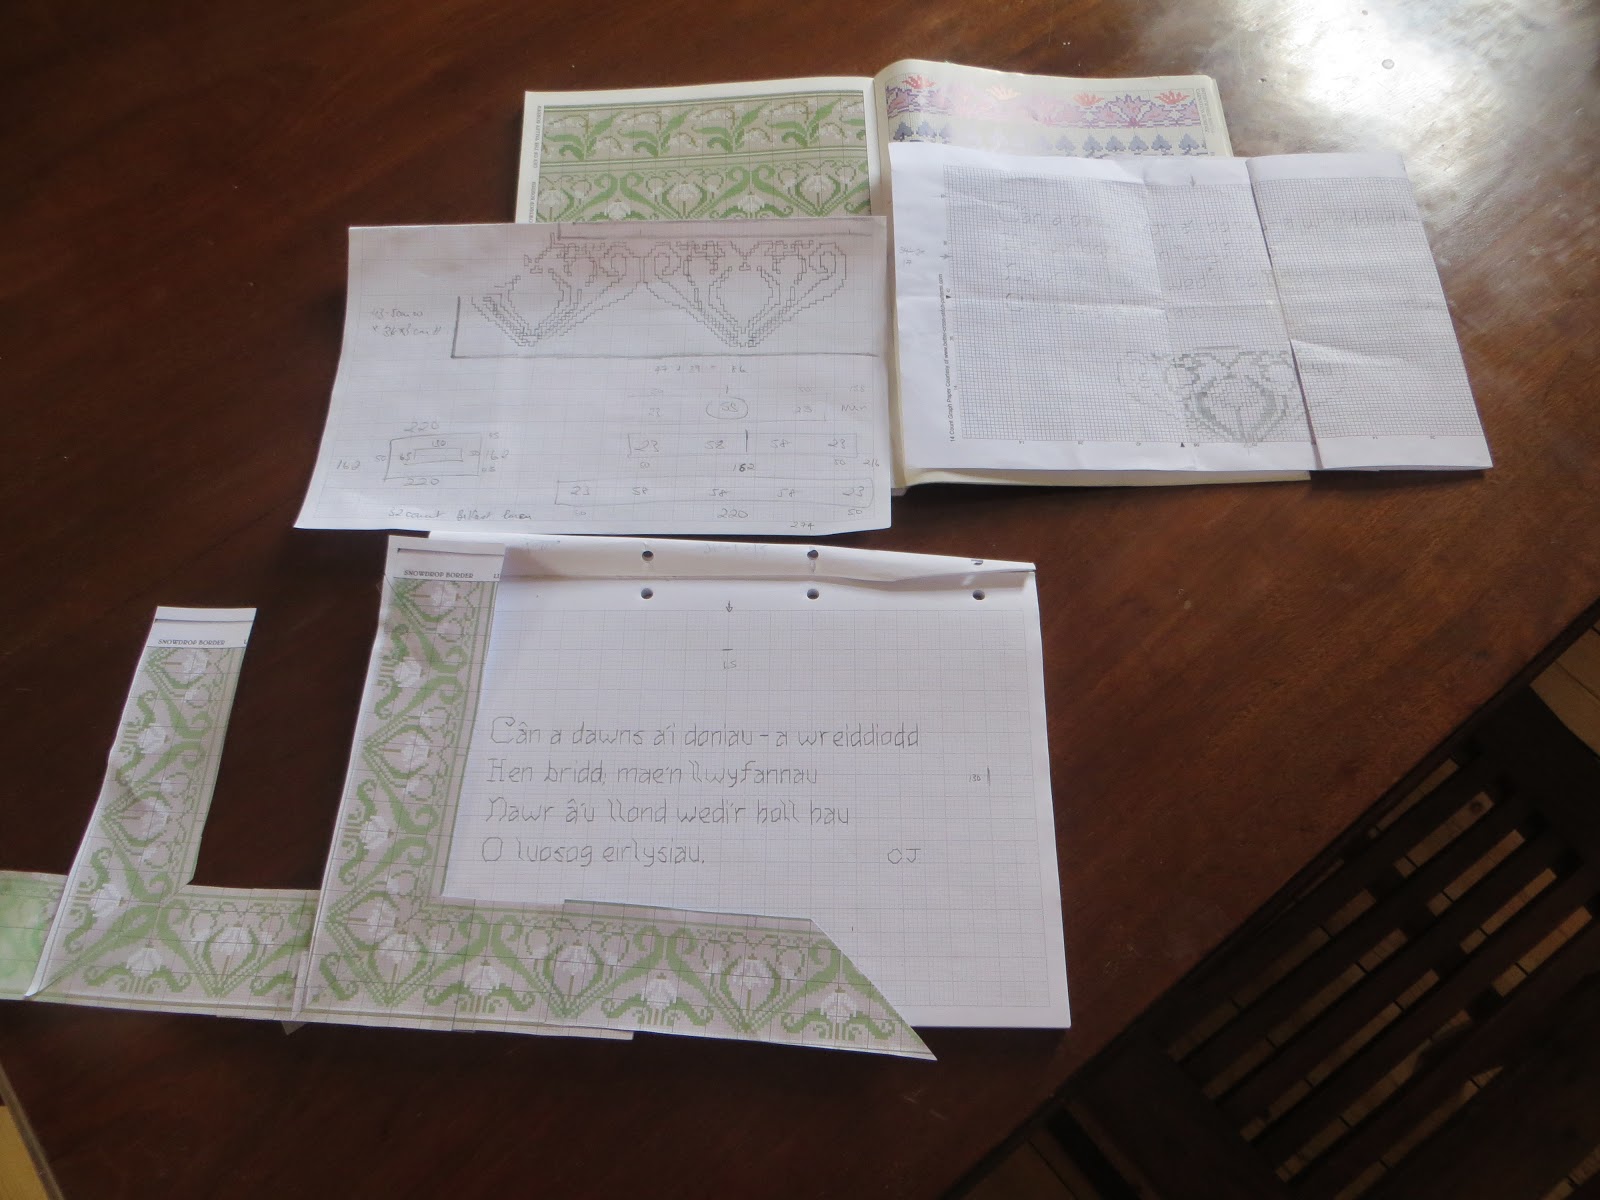
I photocopied the chart of the border a number of times and played around with them to get the best option for turning corners (IMHO, of course).  I also decided which part of the design worked best at the 'centre' so that I could line this up with the centre of the words.

Photocopies of the border used to try out different 'corner' options (with plotted poem)
With all of this decided, I copied the border (as the photocopies weren't on the same scale as my chart for the poem - bad planning on my part and I expect there would be a way of photocopying to the correct scale or choosing the correct scale grid paper for plotting!) to work out the scale in relation to the poem.  I then 'played' around a bit with the border in relation to the words to work out how many times the motif would fit across and up the poem in order that I could try to work out how much space there would be around the words.  Being totally honest, I had got quite confused by this point was loosing interest in it all.  I ended up 'guess-timating' 3 motifs across and 2 up, plus the corner and came up with 3 full plus two 'halves' along the top and bottom; 2 full plus two 'halves' up each side.  If you're still following - congratulations and stick with me a bit longer.  If not, I hope some photos will help clarify things a little.
Up-scaled border motif with poem
My bits of plotting, calculations and jottings
To cut a long-ish story short, with all those calculations done I realised that I needed to find a larger font for the poem as there would be far too much 'white' space around it otherwise!

Anyhow, with all of this done (phew, time for a well-deserved cuppa and biscuit I think - for you and me!) it was time to work out how much fabric I needed.  Thankfully you can find help with this online like this for example.

I've decided to go with an evenweave fabric as a) I prefer it, b) I think it will suit the style of the border better and c) I think the recipient will like it and it will suit her decor (from what I know of her).

As for the colours, well, for once, that was a little easier to decide on than the rest.  Firstly, snowdrops are white and green - easy.  And secondly, the lady in question leads a dance group and the group's signature colour is purple.  So, the border in white and green and the poem in purple (which thankfully goes quite well with green and white - lucky that!) on a natural linen background (so that the white of the snowdrops shows up nicely).

So, off I go .....

Monday, 25 February 2013

Commission update

Take a look at how I'm getting on with my latest commissions with my weekly progress photos.

Dn's bus - week 1

DN's bus - week 2

DN's bus - weeks 3 & 4

DN's bus - weeks 5 & 6
Getting there now

Monday, 4 February 2013

Pay it forward 2013

Since the New Year I've noticed quite a few posts on Facebook about this. If you haven't come across them, they say something like this:
Pay it forward 2013!
I promise to make something handmade for the first five people who comment.  They must in turn post this and make somthing for the first five who comment on their status.
* The rules are it has to be made by you, and they must receive it before 2013 ends.

Initially I thought, I've more than enough to do as it is and I don't want to feel under pressure to make stuff.  But the more of these posts I saw, the more I thought about it.  And as I've been merrily stitching some little objects recently, I've realised that they don't necessarily have to be huge undertakings (and you'll more than likely have to consider postage for them too).  So, as a 'crafty' person, I've been persuaded to give it a go after all and posted my message on my FB page last week.  I've had a few takers - one for a charity my friend supports - and I've already a fair idea of what I'm going to make those who've shown an interest.

I suppose, now it will just be a matter of getting on with it (although, I do have best part of 11 months to give them to my friends!).

Friday, 4 January 2013

Light relief

A couple of weeks ago I spent most of an afternoon and early evening crawling on the living room floor between layers of the curtain I'm sewing for the living room.  The cats were quite perplexed and thought it best to steer clear!

So, as a bit of light relief from that and the Christmas madness, I've been making some Christmas decorations.

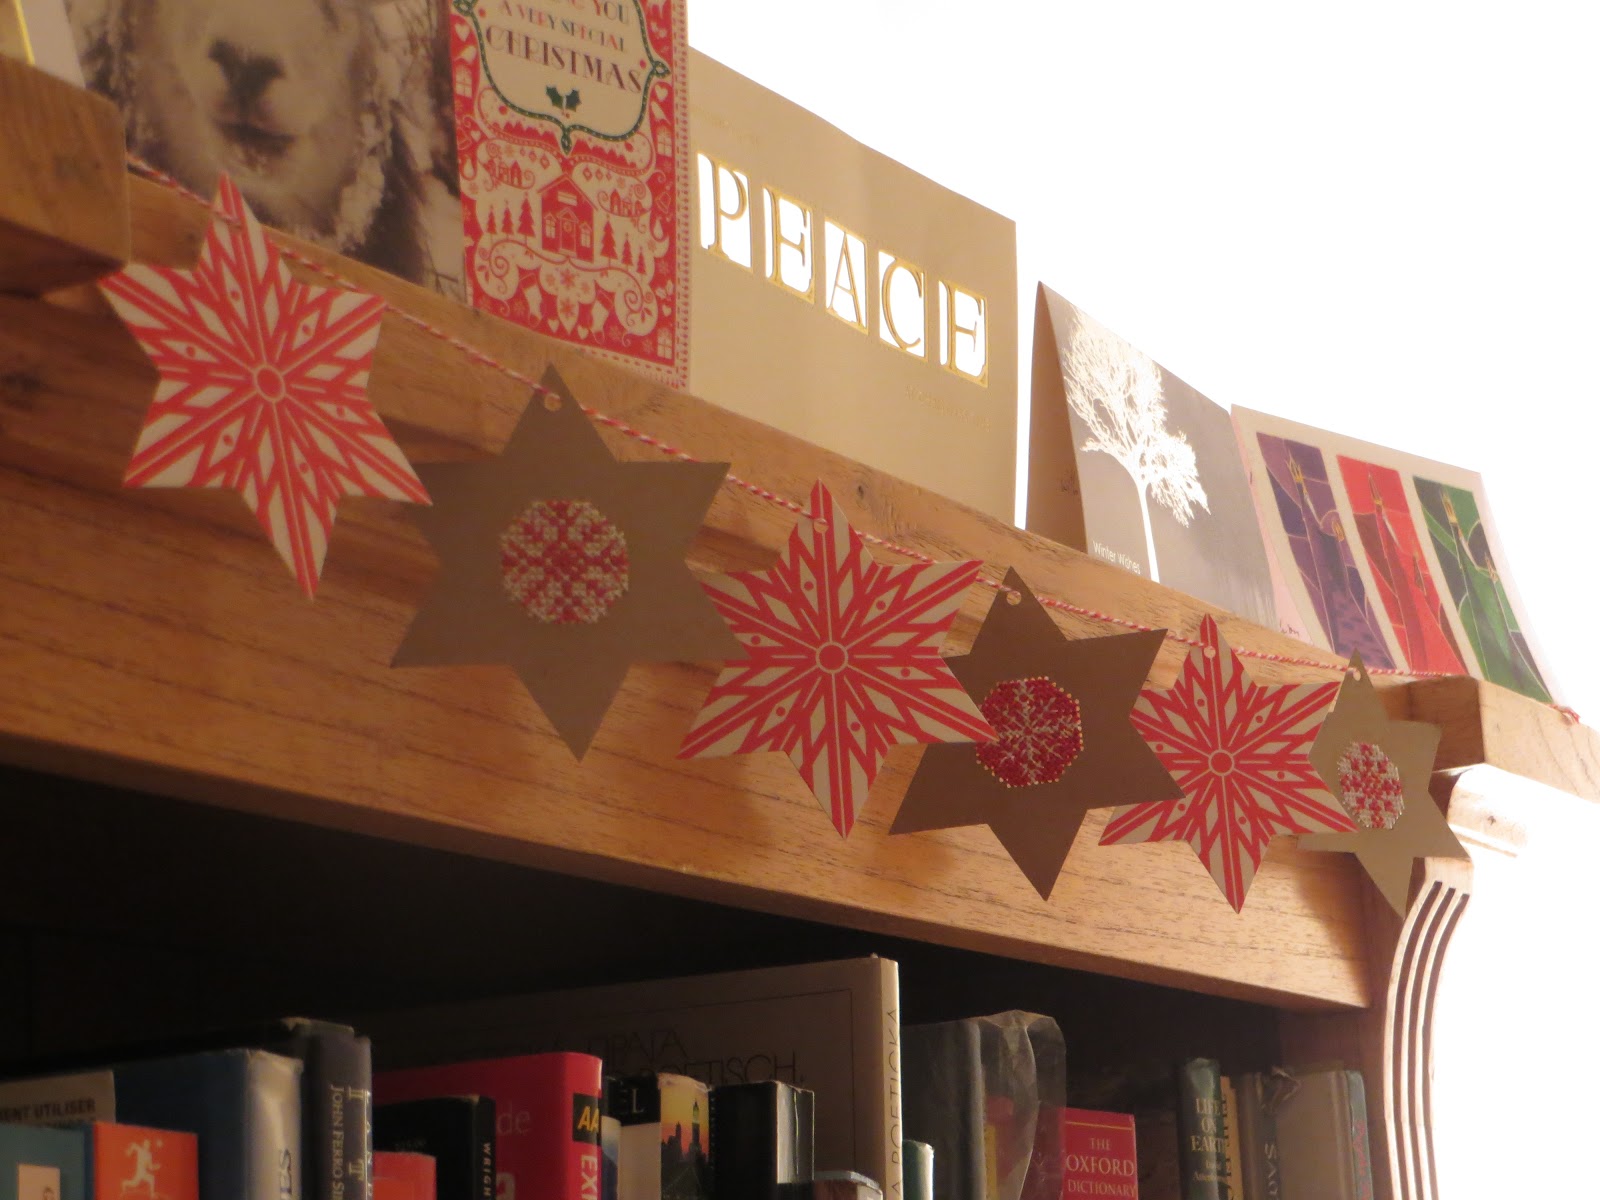
I rather like the magazine, Cross Stitcher, and although there are lots of designs I'm sure I'll never make, there are quite a few that I find quite tempting.  November's issue had a free gift - the materials to make a garland of stars/snowflakes.  In the pack were three red and white patterened card stars and three perforated card stars ready to embroider, red and white embroidery silks, red and white cord for stringing it all together and a needle.  According to the instructions, each star should take two hours to make, but I think I managed each one in a little over an hour.

Initially I intended to decorate our dresser with greenery, but as I didn't think I'd have the time to make a traditional garland, these seemed to be the perfect substitute.  However, I found some fairy lights for the dresser, so I've found somewhere else to hang these now.  They're very pretty and I really like the perforated card stars - although I tend to roll fabric around my fingers as I stitch so I had to be careful not to bend the card too much!  Unfortunately it doesn't seem possible to buy more of the perforated stars, but I've found instructions how to make your own. What do you think?


I'm so pleased with them I think I may try more of their Christmas designs.  I've gone back through old issues and found the free gifts and spent my quiet time over the Christmas break making them.  My DH is a bit confused why I'm making Christmas decorations when we'll be taking the tree down soon, but I'm enjoying myself. 
There are also some pretty Scandinavian inspired decorations in the December issue that may well fit some of the Framecraft accessories I've had from years (yes, more Ebay purchases!).

Thursday, 13 September 2012

Let's start at the very beginning...

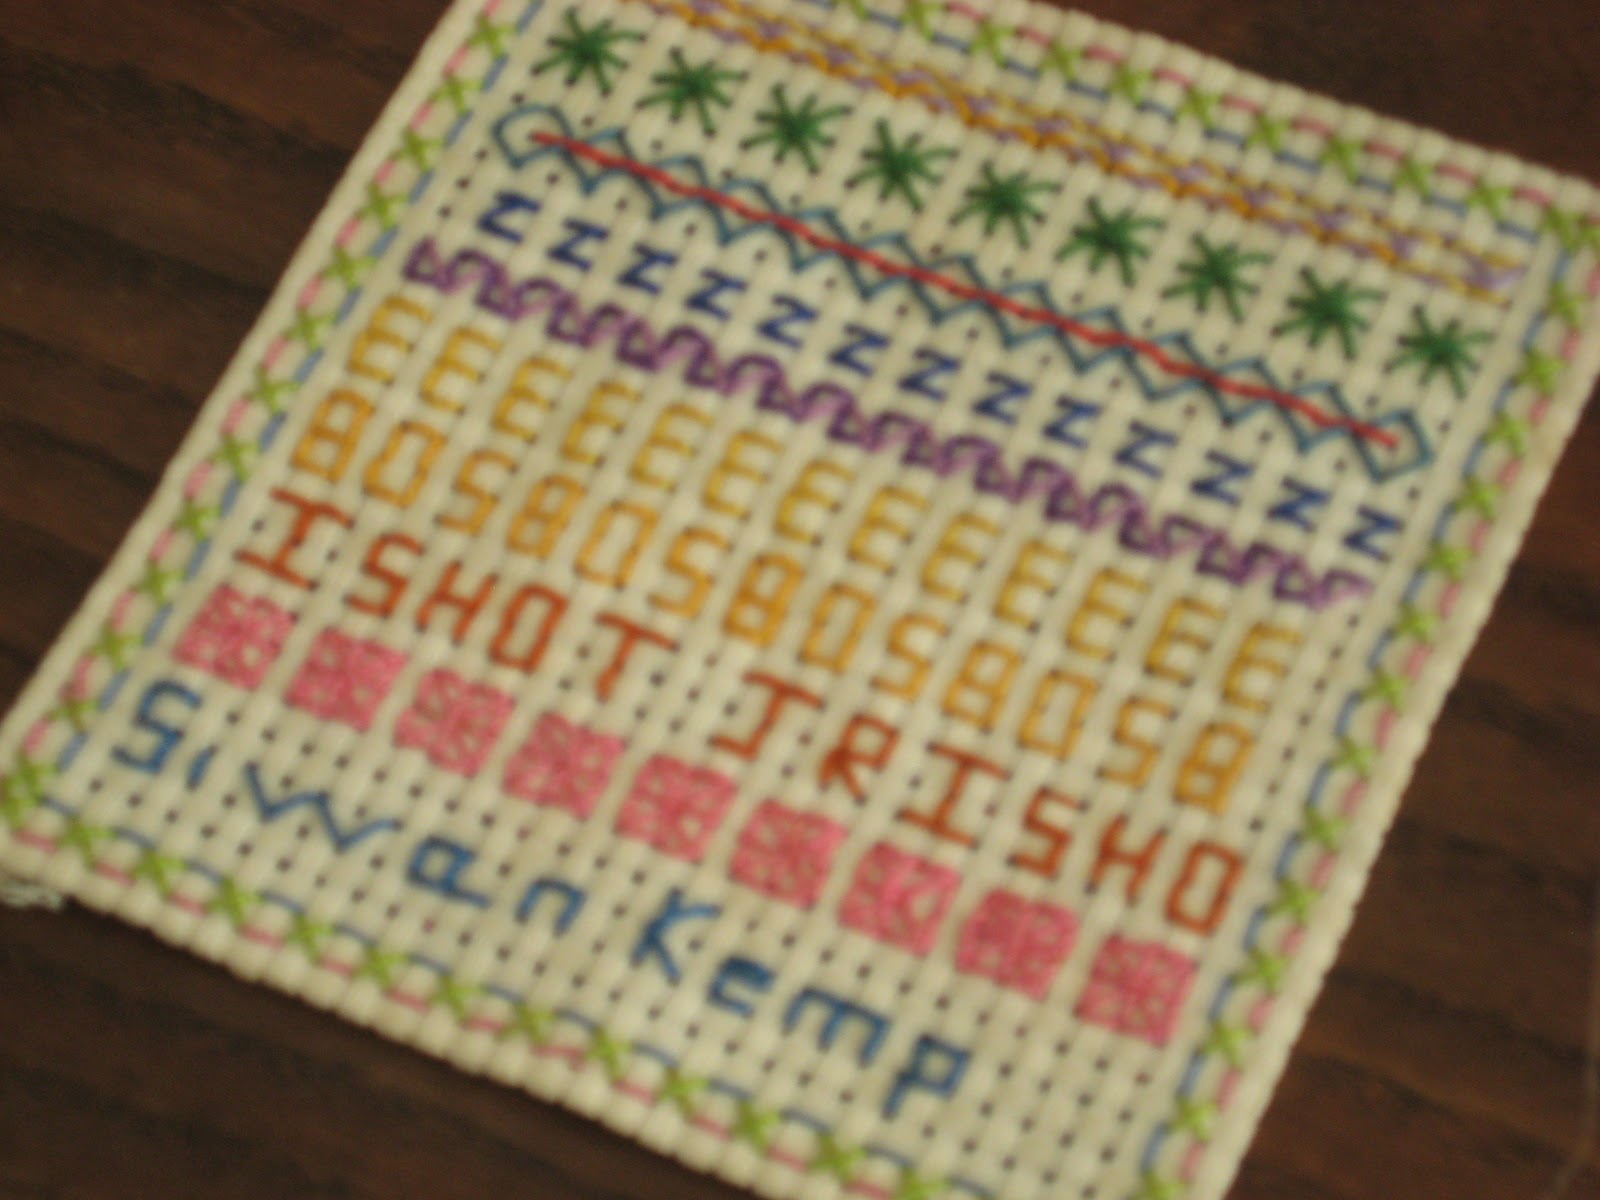
The other day, when I was writing about UFOs, I was looking through a zip-lock bag I have of bits and bobs I've made - you know the type of thing, a free kit from a magazine, a cute kit you've fancied but once made up you've no idea what to do with or where to put it ...  Well, in amongst all of this I found some of my earliest embroideries and thought that I'd share them with you.  Hopefully you can see how far I've come since I started!!

My very first project was this tray cloth.  I found an old biscuit tin filled with embroidery silks that belonged to my maternal grandmother and it was that that triggered my obsession with embroidery.  She died a little over a year before I was born and had left this tray cloth unfinished.  So with her help, it started my 'career' with embroidery.  No prizes for guessing which part my Nain did and which is mine!


After finishing it, we showed it to my grandmother's sister, also an excellent embroideress, and the following Christmas I got the kit for this tray cloth from her.
The following pictures are pieces I made at school at various times - I'm sure you all recognise the style!  Unfortunately, I'm really showing my age with some of these!!  I'm not sure whether it was while we were sewing the top or the middle one, but my class had taken our chairs outdoors as it was so sunny and were sewing outside our classroom when one of the boys realised he'd sewn his 'sampler' to his shorts!  I wonder whether that was the end of Ben's sewing career?!


I also remember my DM being mortified when she saw the middle one and asked me to unpick some of it, but I never did.  I was so fed up with everyone discussing who they thought had shot JR in Dallas while we were all sewing that I lost my rag and 'confessed'!!  I suppose it dates it and is quite apt now, as the new series has just started over here.

PS: apologies for some of the slightly blurry photos - my camera isn't well and focussing is a bit of an effort.  I suspect it isn't much longer for this world.

Wednesday, 5 September 2012

Peas in a pod

Oh goodness, I'm not very good at this posting lark, am I?  My apologies for my absence over the last few weeks.  To be honest, I was on holiday for two weeks (and busily embroidering for you instead).

Well, I have finally finished the sampler for my friend's little girl (mind you, at the rate I'm going, she'll be married before I've ironed and posted it to her!).  So she and her brother will now have 'matching' samplers.

I embroidered the 'brother sampler' shortly after he was born:
And have adapted the design to suit a girl, as you can see, by changing the colours and some of the toys depicted.  My remit included her favourite colour (purple) and that she's a horse fan, so I've done my best to include those requests.
There were a few dilemmas as I progressed, including the colour of the alphabet around the edge (it started out green!), were the 'little ladies' in the centre too pale, and most crucially, which letters of the alphabet should I put on the blocks!?!  Actually, it isn't as daft as it sounds really.  As you will see from the 'brother sampler', they have A, B and C on them, but as his name starts with G, that was easy (see the individual block on the right).  But with her name starting with B, I thought the 'sister sampler' would be a bit repetetive if there were two blocks with B on them.  Instead I opted for the end of the Welsh alphabet (which follows the original design by Brenda Keyes anyway).  I also thought of putting a B on the horse's saddle, but decided against it in the end.
Please post your comments on the two samplers - I'd love to hear what you all think!

Monday, 16 July 2012

Madame Defarge strikes again

Last week I was at the Llangollen International Eisteddfod.  I've been going there since I was a baby and during my teens (at the height of my embroidery obsession) I used to take my latest project with me and sit in the pavilion during the competitions and stitch.  We always sit in the same block and over the years have got to know the others that also sit in the area and a lovely man from Windsor, who we'd see there with his wife every year, started to call me Madame Defarge, from A Tale of Two Cities, because I'd stitch while the competitors danced/sang - a bit like the character knitting while the poor victims of la guillotine faced their terrible fate.

So, Madame Defarge was back again at Llangollen last week, stitching away as the choristers and dancers fought it out for first prize!  And I made some progress on my sampler (which will be the sister sampler to the one in 'They're changing guard at Buckingham Palace') at last.  I still have a way to go, but considering I'd only managed a couple of letters of the alphabet border and the bulk of the name before last week, I'm quite pleased with my progress.


Tuesday, 27 March 2012

Royal School of Needlework

If you read some of my other posts, you will probably (hopefully) have gathered that I've been interested in embroidery for quite a few years.  Over the years I have been a member of a few associations, but only joined the Royal School of Needlework last year having admired them from afar for ages.
Since joining I've dreamed of attending one of their courses, and finally, at last, at long last (I think you get the drift!) I am going to one THIS WEEK!  Hip hip hooray!  I can't wait.
I have done different types of embroidery in the past, but mainly cross-stitch, so this was an opportunity to try something new.  They have plenty of choice of courses - I was like a child in a sweet shop to tell the truth - but in the end opted for one that will hopefully be a bit of a taster for a few different disciplines.  That way in the future I can choose another course to explore another style in more detail.  So, this Friday I will be at Hampton Court (and I'm in the middle of reading a Philippa Gregory book in the Tudor series too!) giving 'An Introduction to Embroidery' a go.  I'm so excited!!  Hopefully I will have calmed down enough by next week to let you know how I got on.  Keep your fingers crossed that it will be a nice sunny day too - maybe I'll be able to take some nice photos of the palace while I'm there!

Monday, 20 February 2012

Sampler design

I thought it was about time that I gave you an update on the sampler designing I mentioned in my earlier post.  Not that there is an awful lot to report.  It has been slow, to say the least.
I'm reasonably happy with the design.  It was a bit of a fiddle copying out all the various bits I'd found to create a comprehensive (I hope) whole.  I'm really looking forward to getting our new computer so that I can start using design software for this stage.  But adapting the design of 'big brother's sampler' was quite a good way to start, I think.
The next step was choosing colours.  Now, this is when I think the design software would have been REALLY useful.  Unfortunately, I don't have silks for all the colours I've chosen so far, so it is a little difficult to tell whether or not they'll all work together yet.  At the moment, what I have looks a bit 'bitty', but once I get the 'main colours', hopefully it will all start to look a bit more like a design (rather than a a bad jigsaw!).
Sorry - no photos this time.  I'll try to include one in the next update - once I have all the silks etc - so that you can see how I'm getting on.

Monday, 13 February 2012

New Year reading

I'm sure many of you have had some lovely handicraft books for Christmas or in the January sales and as I've seen other bloggers do the same, I thought I'd share with you the pile that is currently sitting next to my bed to tempt me.

I got two book from my sister this Christmas, the Liberty Book of Home Sewing and Made in France: Sweet Treats in Cross Stitch.  I've always been a bit of a Liberty fan and collected items in one of their tana lawn patterns for years (until it was discontinued - sob!), so this book was bound to tempt me.  The projects in it are all gorgeous and look stunning in Liberty prints.  I'm sure they'd be lovely in other prints too, but it is difficult to beat good old Liberty (in my opinion anyway).  I'm not sure where I'll start with them, but my mother-in-law has already asked for one of them as her Christmas present this year (plenty of warning!).  I was quite tempted by a quilt though.  I've fancied making one for years, but always been a bit scared by the scale of it.  But this book has persuaded me to start collecting Liberty prints to make an heirloom quilt for our bedroom.

The second book, Made in France: Sweet Treats in Cross Stitch by Tinou Le Joly Senoville, probably isn't one I'd have gone for if I'd seen it in a shop, although I'm sure I'd have enjoyed thumbing through it.  But, once again, there are some lovely projects in it.  They're all sweet-related (really?!!) with a bit of a  French twist - macaroons, French slogans, the odd Eiffel Tower, and in really pretty LadurĂ©e macaroon colours.  I think I may try to adapt some of the Christmas charts for some decorations and use up some more of my stash of crafting supplies in the process.  I'll try and keep you posted on my progress - if I make any!

The third book is one I found in one of those bargain book shops, although it wasn't reduced by all that much.  It is Scandinavian Needlecraft by Clare Youngs.  This is a completely new style for me, but the Scandinavian style is so clean and fresh it was sure to appeal to me.  And there's a Swedish connection on my husband's side too, so I felt I was supporting the 'team' at the same time (well, that's my excuse and I'll stick to it!).  Once again there are some gorgeous projects - many using felt and various embroidery stitches (running, whipped backstitch, french knots ...) which is a change for me from my usual cross stitch.  There are some delightful little felt baby slippers, which would be lovely to enlarge, but I may just find a use for the emblem on them instead.  I love the felt Christmas decorations too (yes, I have a bit of a thing about Christmas decorations from central and northern Europe!) and some may creep on to our tree next time around.  They'd be great gifts too, as they'd be so light to post.

Other craft reading material I love is Martha Stewart Living magazine.  If you aren't familiar with it, it is packed full of home-making tips and ideas, from organising cupboards and drawers to bunting for parties/celebrations and recipes.  This month she had me drooling over the 'home making room' and all the beautifully organised shelves and cupboards she has there.  Just the thing for the organised person in me trying to get out!!