Showing posts with label house. Show all posts

Monday, 11 January 2016

What I want to make in 2016

Last year I put this list together (from what I'd left undone in 2014!!) of things to make during the year.  As you can see from what I've crossed out, it wasn't that productive a year!
  • Bedroom curtains - our room
  • new cushion for Lloyd Loom chair
  • bedroom curtains - sewing room
  • finish snowdrop sampler
  • something out of box of old cloths
  • bedroom curtains - top bedroom?
  • finish spring tapestry cushion
  • new canvas for garden chairs & coordinating bench cushions
  • use DH's old shirts to make tops?
  • something out of striped Mulberry fabric
  • Something out of Nain's pink/orange fabric (Amy Butler Lotus tunic?)
  • Scandinavian garlands from Scandinavian Needlecraft by Clare Youngs as Christmas presents - use stuff stored in boxes/attic?
  • key rings/fridge magnets - possibly from Made in France: Sweet Treats in Cross Stitch by Tinou Le Joly Senoville; garden secrets book at home; also see 'key to it all' post
  • Presents/cards for birthdays
  • Christmas tree skirts - as presents
But, looking on the bright side, I don't need to worry about curtains for the top bedroom as I brought a pair I made about 20 years ago from my flat (I was fed up with my tenants having my lovely curtains and the last one certainly didn't appreciate them). So, I have curtains made by my fair hand in all rooms but one of our house (and the curtains in that room have new linings made by me).

Another small plus is that now that the major projects (you guessed it, curtains) are done, I can hopefully concentrate on some smaller finishing touches, like the chair cushion and some tie-backs for the numerous infamous curtains.

I'm not going to promise to complete this list as a) I don't want to put pressure on myself, b) I know I won't manage it and c) I'll probably do other stuff that I haven't considered putting on this list.  I am hoping to concentrate on a few of them though:
  • tie backs for 'final curtains'
  • new cushion for Lloyd Loom chair
  • finish snowdrop sampler
  • finish spring tapestry cushion
and take it from there.  It is four years since I started blogging here and the last 18 months have been pretty poor to say the least, so hopefully this will be my blogging come-back year.

Monday, 4 January 2016

The final curtain

I know I probably shouldn't say this, but I really hope that the title of this post is true!

For those of you have been faithful followers of this (rather intermittent) blogger (and thank you if you are!), you will know all about my bumpy road to curtaining our home (is there such a verb as curtaining?!).  It has involved a huge amount of fabric, miles and miles of thread, aching knees and back and (literally) a substantial amount of blood, sweat and tears.  Not to mention an inordinate amount of patience on DH's part!

I hope that you are sitting down as you read this next part, because I have made the final* pair of curtains!!!!

I have been keeping fairly quiet about them I admit.  Partially because I'm so sick of making curtains, but also because we've had quite a big family event behind it all, which I didn't want to say too much about. It still isn't imminent, but at least the curtains are up now.

They should have been a quick and easy pair to make as the window involved is soooo much smaller than the others I've blogged about.  As ever, though, it all took longer than I'd hoped.  I didn't order enough fabric to start with (a bit of a boo-boo to say the least) and then I ran out of thread.  After getting more supplies and starting the next stage, the sewing machine decided to go on the blink!  To be fair to it, though, I've had it (or I think my parents would say, we've had it) for over 20 years and it hasn't been serviced once (shame on us), so it has done brilliantly to last this long.

So, all in all, my final (hopefully) foray into curtain making hasn't been the smoothest.  With all the experience I've had, you'd think I'd have perfected it by now though, wouldn't you!?!  As ever, I've decided to try something new again - blackout lining this time - and it is a bit weird to sew with.  I was a bit concerned that the stiffness of the lining would put me off them now they're hanging as it doesn't hang as nicely as 'normal' lining, but it isn't as bad as I expected.  That is one bonus of worrying yourself silly for months about something - it can NEVER be as bad as you expect! ;-)

Et voilĂ !


*At least, the final pair for a VERY VERY long time.

Saturday, 31 October 2015

House tour - part 5

We're almost there now!  Not far to go!

As I've implied in previous instalments, what I've left to show you is probably the least dramatic of all the work we've done to the house.

In the 'guest' bathroom and WC, all we changed really was the ugly lino for some tiles and a fresh, clean coat of paint.

The guest room was a bit of a surprise when we first got the keys.  Everytime we'd been to the house, the teenage son was recovering in bed from a late night out, so we'd only ever peeped in and seen it with the curtains drawn.  We realised that it was a convenient 'ploy' after getting the keys as this was the only room with a Critall window (just about visable in the photo below) - hideous!  And draughty!  Initially we were just going to paint and carpet it, but the plaster was pretty awful, so it was replastered too and last year we replaced the awful window.
The second spare room had some nice original features - bare floor boards, original fireplace and a nice little cupboard (and no radiator as we discovered some months later!).  They were however painted a rather bright blue:

And now:

(you may recognise this as my sewing room now!)

Then the final bedroom, like the guest room, was replastered and redecorated and carpeted and went from this:
To this:
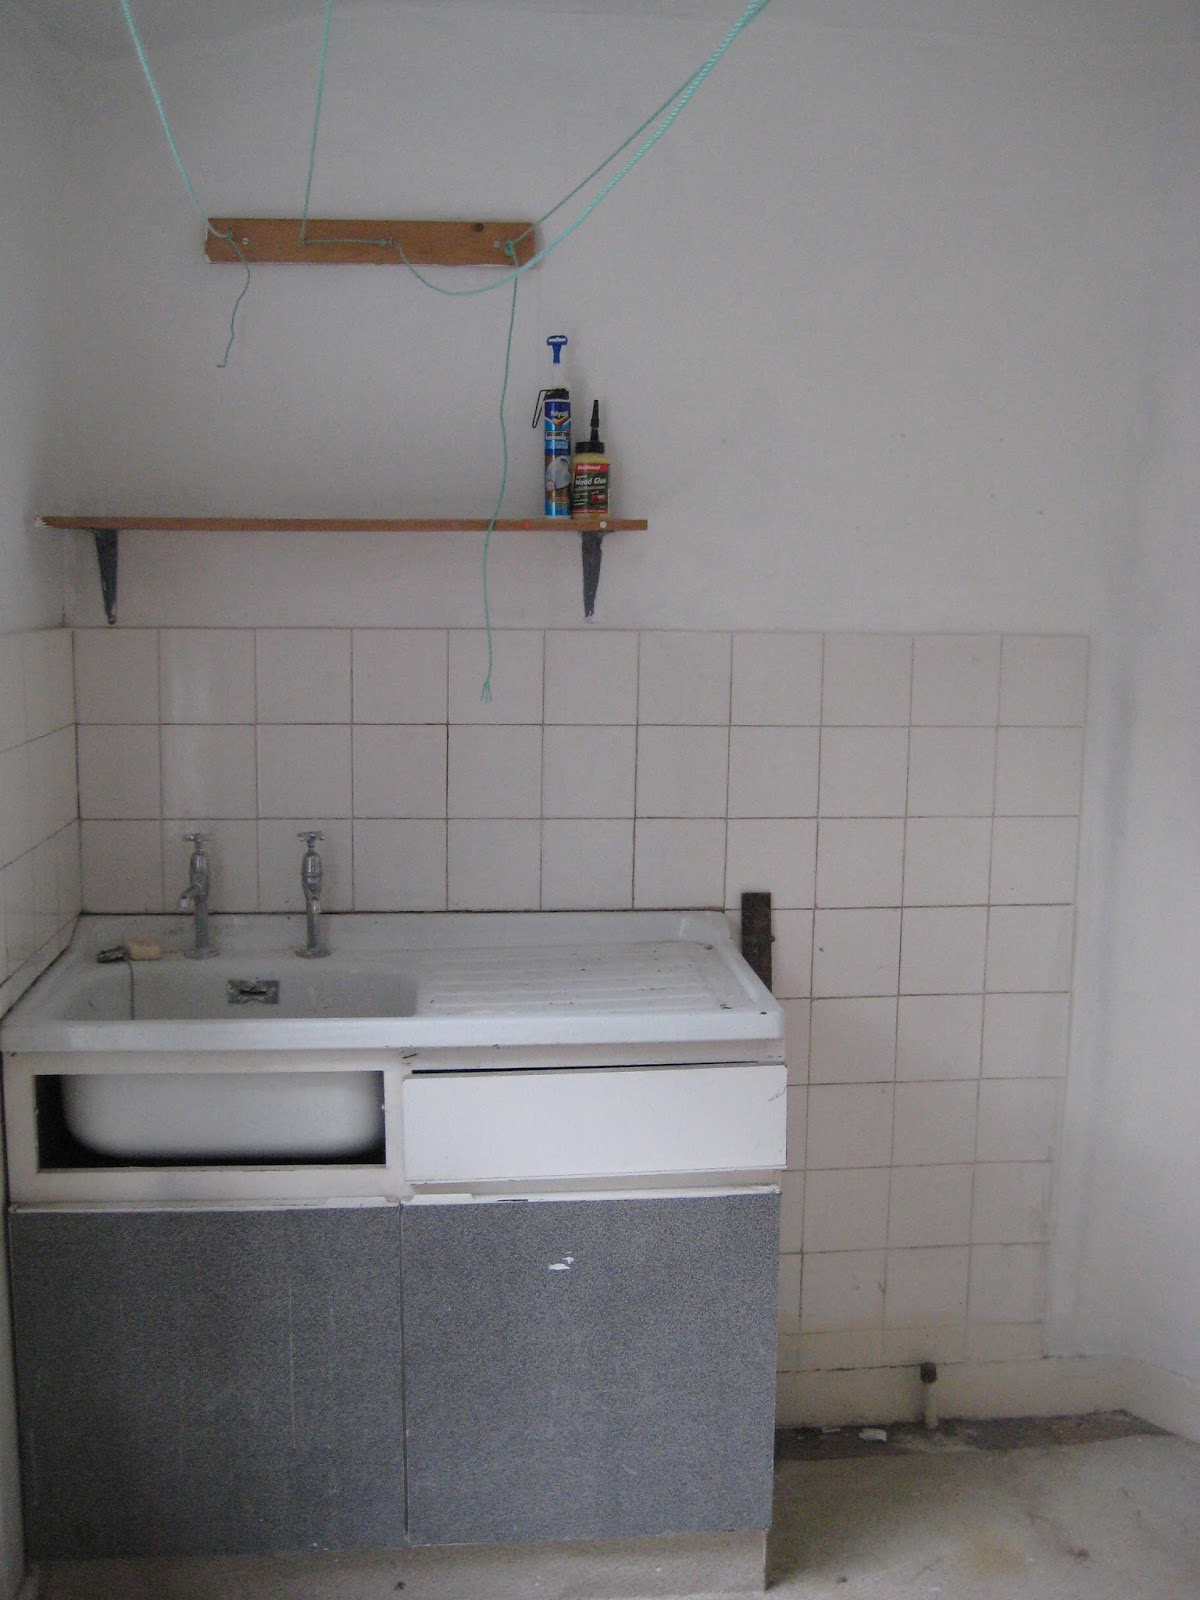
Now that leaves just one room left.  The previous owners used it as a dark room, so it had a sink in it already.  We'd thought of keeping the sink and using it as a laundry room, but when we looked more closely at the sink it was disgusting (photographic chemicals presumably).  So a bit more money spent and it was transformed from this:
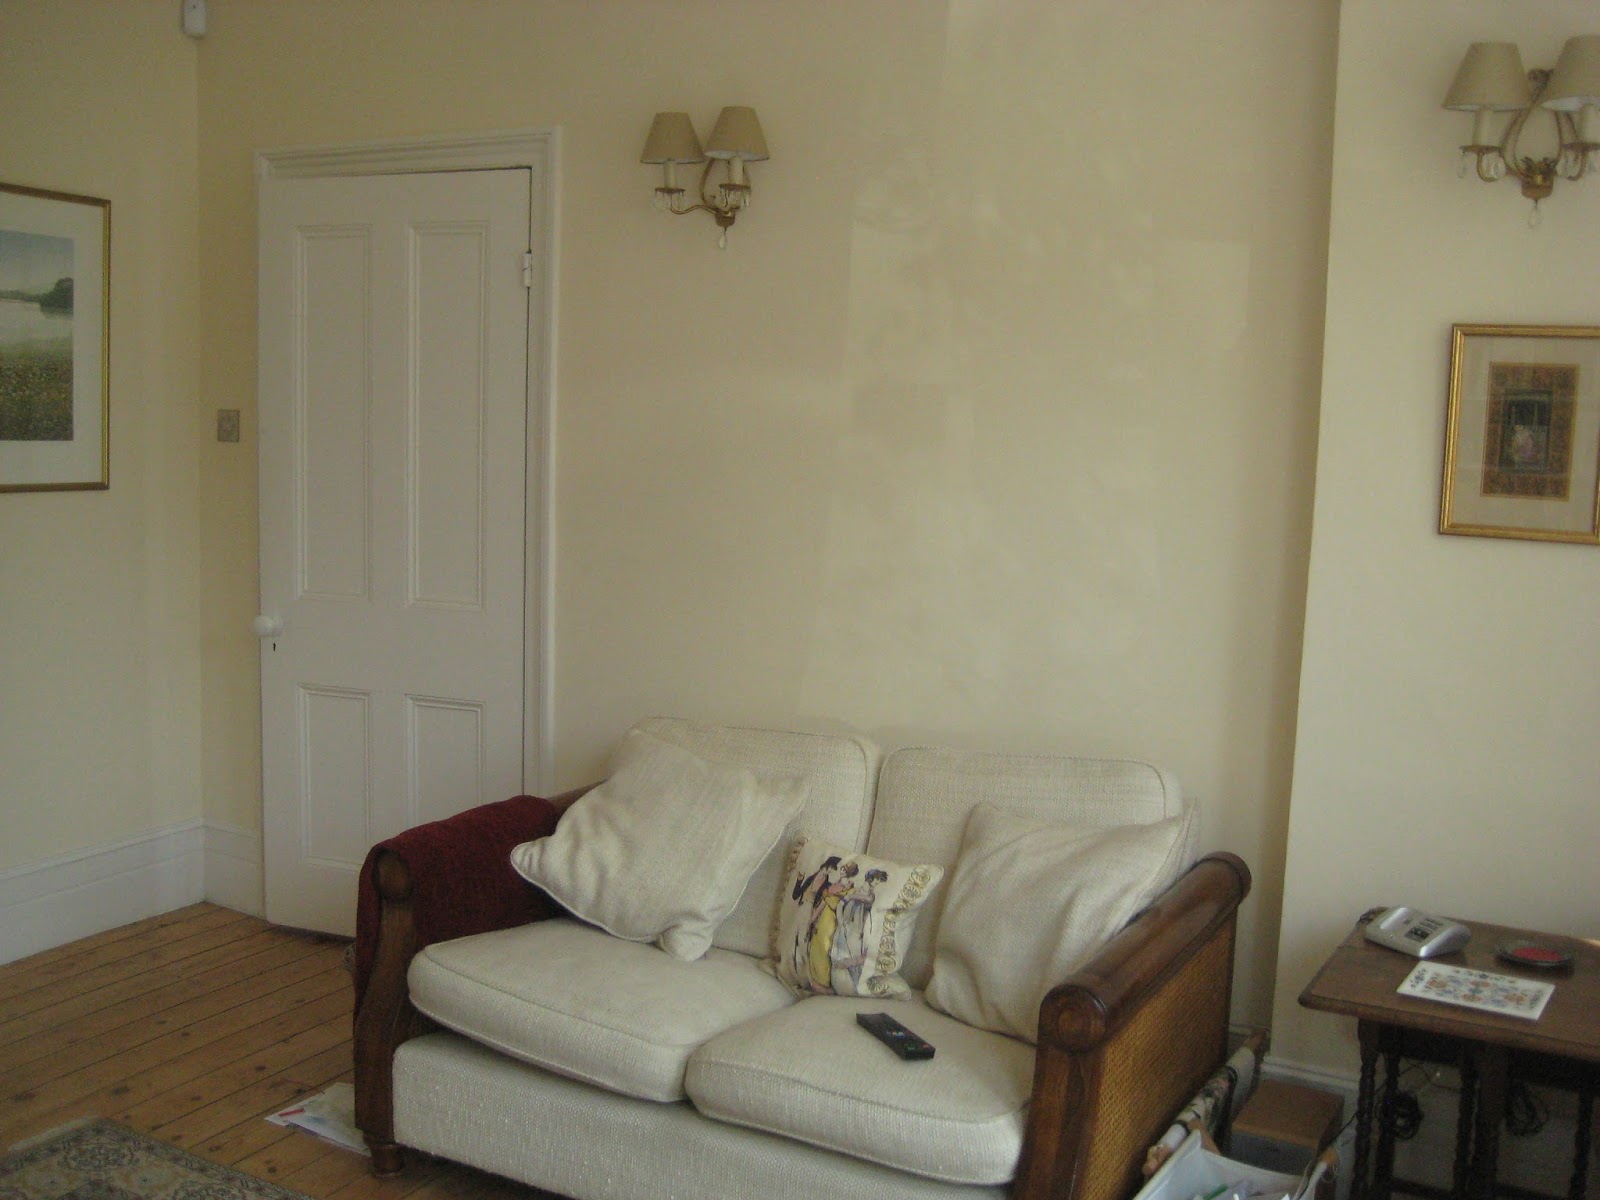
 to this:


Thursday, 18 June 2015

Total blackout

It is high time that you all got an update following my last disastrous post.  The title of this post could refer to my lack of contact with my loving public (!), and I apologise profusely for that*.  In fact I'm referring to the fact that DH and I are now sleeping much better (and longer - oops!) because we have a pair - YES, A PAIR - of matching curtains in our bedroom!

It has been a very long road to reach this point, but goodness, it feels good and looks pretty good too.  At least, we both like them.


* The fact is, we've had so much other stuff going on recently, that the curtains have been about the only creative thing I've had in my sights over the last few months.  Hopefully that will change soon and I can get back to something slightly less bulky and time consuming.  So, please don't give up on me and continue to watch this space!?!

Monday, 23 February 2015

A complete disaaaaaster

I'm sure you all realise that not everything works out as planned with sewing projects, as with anything else.  Well, let me tell you that that was definitely the case for me last weekend (not the one just gone - I had to wait a week to blog about it as I was too worked up and upset by it all!).

My curtain-making had been on hold for almost a fortnight thanks to a late delivery of an online order for extra header tape, so I was already frustrated and behind on things.  DH kindly went to John Lewis late night shopping on his way home one evening to get me some more so that I could carry on properly the following day - but they'd run out of stock!  So I went into town myself on Friday morning to track it down elsewhere - and finally got it at the third shop after a 'magical mystery tour' of the West End.  And when I got home, there was the online order waiting patiently on the doormat!

So, Friday afternoon was spent putting all three layers of the HUGE curtain together - pinning, tacking, sewing side seams, hemming ...  Saturday afternoon was more of the same followed by pinning the sections for the pinch pleats (my least favourite part of the process).  I hadn't been happy with how the pleats had turned out in the first curtain (currently hanging at our bedroom window), so I'd decided to try to use the fabric pattern when planning the pleats on the second one.  However, the pattern had other ideas.  So at supper time, I'd had enough and was feeling pretty miserable and frustrated - and gave up.

Sunday afternoon, despite feeling groggy and headachey, I persevered.  If it was the last thing I was going to do, I was going to get BOTH curtains up by the end of the day!  I decided I was asking too much of myself to get the pleats to work with the pattern.  This was only my second attempt at pinch pleats and my first with patterned fabric, after all.  So, how many pleats did I want - 9 on the first curtain weren't enough and it was all a bit baggy.  So I did some maths for 10, 11 or 12 pleats and decided I'd give 12 a go.  All pinned, I marked the sewing line on my machine to help keep things straight and away I went.  Hooray - 12 pleats ready to pinch!

DH was out for the afternoon, so I waited to hang it once he got back.  And all was looking pretty good .... until we drew them closed ... or not as it turned out.  The second curtain wasn't wide enough to cover the whole window!!!!   AAAAAAAAAAAAARRGH!  And it was puckering at the bottom, so there I was tugging gently as the leading edge .....  when I realised that the leading edge WASN'T MEANT TO BE THE LEADING EDGE.  Not only wasn't it wide enough - I'd pleated the bottom (ie it was also upside down!).

After a couple of tears for frustration (understatement), I decided that the sooner I unpicked the whole thing, the quicker I'd get onto resewing it.

Isn't it weird - it had taken me a number of afternoons to get the blasted curtain put together, but it only took me about an hour to unpick it completely.

And then it hit me - the pattern wasn't going to match across the window!  Somehow, the second curtain had been cut out about 3 inches lower down the pattern than the first so the only way that I'll get the pattern to match across the window is to unpick the curtain that is already hanging as well!!!!

Please, will someone pass me the valium?!  NOW!!!

Monday, 16 February 2015

From Bedroom to Zenana*

After we moved into our house, we were ridiculously organised and went fabric hunting for our kitchen, bedroom and living room curtains WAY before there was any hope (or money and time) to make them.  At least we managed to save up and make the kitchen blinds, and after a considerable amount of huffing and puffing the living and dining rooms also have curtains.  So it is finally the turn of our bedroom.

When we were initially having work done on the house, there was so much to think of that I couldn't face deciding on specific colour schemes until we knew what would go where (we didn't move in until the work was done).  As a result the house is mainly painted cream with white woodwork.  Excellent as a base, but not much help when you're trying to decide on a colour scheme!

We were given a deep purple throw and coordinating cushion with allium on it as a wedding present and we used them in our bedroom on and off for a while, but for some reason, DH wasn't all that enthusiastic about having lilac/purple as the colour scheme for our bedroom.

We were wandering rather aimlessly through the fabric department of John Lewis trying to find something we both liked when DH found an Osborne & Little fabric that gave us an idea.  We had two problems with the fabric in question - a) we couldn't afford it and b) even if we could afford it, neither of us can stand George Osborne who is part of the O&L family!  BUT it did inspire us.

We went to India on our honeymoon and loved Jaipur and the Moghul stamp (aka paisley) and I had a kameez made while we were there out of local hand-blocked silk with the paisley pattern on it.  So, clever DH suggested we use India/our honeymoon/paisley as our theme.

As usual (see Curtain up), I was trawling the web for fabrics that fitted the bill and found the Harlequin Lalika collection and fell in love with the Azara fabric in particular.  We ordered samples of all colours and narrowed it down to either red or blue and despite being torn, we've decided to go for the blue.

In 2013 we spent a lovely relaxing week in Turkey and brought some nice souvenirs back with us to adorn our home.  Along with two Kilim rugs for the hallway, we bought two lovely ceramic plaques/plates in the Iznik style and a lovely lamp for our bedroom (that had a bit of an adventure getting to Britain - but that is another story).  So, our bedroom has become more of an Islamic art theme than just Indian now, but so far we're loving the change.

* Not sure DH would be all that pleased, but this is the definition of Zenana, but ironically I'm a baptist too, so it is quite apt.

Tuesday, 26 August 2014

House tour - part 4

Shall we go upstairs?!

Sounds a bit saucy doesn't it.  But actually, almost everywhere in our house is 'upstairs'.  From the front the house looks like a pretty average mid-terrace house with a bay window upstairs and down.  But at the back there are three floors!

So, we have about 6 stairs from the kitchen up to the entrance level/living/dining.  Then from the entrance level there are another 7-8 stairs up to a bedroom, bathroom and WC.  Then another 7-8 stairs from there up to another two bedrooms and then up another 4-5 stairs, finally to the top floor and another bedroom and box room.  It was exhausting when we first moved in, but we're used to them all by now.

The main difference upstairs is really the master bedroom, en suite and landing.  We had some board put down in the attic and in the process the top landing ceiling collapsed (not completely unexpected!).  So that was re-plastered and we replaced the attractive shelving around the water tank with some more practical cupboards.
Landing ceiling - beforeLanding ceiling - after
The en-suite was reasonable, but a vile colour.  However, we decided against keeping the bidet and replaced it with a shower cubicle, so the whole suite was shuffled around a little to make it work better.

Before - in germolene pink

Now - nice and calming

In a similar fashion to the water tank, the 'wardrobes' in the master bedroom had been rails hidden behind curtains, so Mr Door-man was employed again to build us some wardrobes.  His and Hers, either side of the (original!) fireplace.
It was great to find a house that our furniture would fit into.  We'd seen so many flats beforehand (and some VERY nice ones) that were only just big enough for our king-size bed (a collective wedding present) so that we'd have had to use the other bedrooms for wardrobes, chests of drawers etc. 

Thanks to our holiday in Turkey last year, we're a little closer to how we want this room to be now.  We've 'just' got the curtains to make and then choose a more suitable rug.  I have a feeling you may hear more about these curtains in the future!

Friday, 15 August 2014

Sing a song of sixpence ...

A while back I saw a Miss Marple episode called 'Pocket full of rye', which brought the old nursery rhyme back.  I don't really know why, but despite being a Welsh speaking family, I don't really remember many Welsh nursery rhymes from my childhood.  We were living in Chester at the time, so that is, presumably, part of it.

Anyway, if we 'sing' the whole nursery rhyme, we might get to the topic of this post ...
Sing a song of sixpence,
A pocket full of rye.
Four and twenty blackbirds,
Baked in a pie.
When the pie was opened,
The birds began to sing;
Wasn't that a dainty dish,
To set before the king?
The king was in his counting house,
Counting out his money;
The queen was in the parlour,
Eating bread and honey.
The maid was in the garden,
Hanging out the clothes,
When down came a blackbird
And pecked off her nose.
And before you ask, no, I'm not going to give you tips on catching blackbirds, or baking pies, but rather show you how I went about making a peg bag for my parents.

Many years ago I made a peg bag for my parents, which is now literally falling apart at the seams.  A little more recently (but not a lot) I made another with some cross-stitch decoration.  Unfortunately, this one is too small to hold all of DP's pegs, so I've combined the size of the old one with the design of the second to make another for DPs.

I wanted a finished bag that was the width of a standard coat hanger (the hanging 'mechanism' for DP's 'dying' peg bag and approximately 35cm) by 45cm long, so I cut a piece of fabric twice this length plus 1.5cm for each seam allowance by 45cm wide plus seam allowance. To add a bit of strength and give a better finish, I also cut another piece the same size in a plain 'lining' fabric.

I had decided to make the opening 15cm down from the hanger, so I measured 15cm plus the seam allowance from one end of the outer fabric and centrally marked a horizontal line the width (also 15cm) I wanted for the opening.

As I wanted to embroider around this opening, I then tacked some scrap embroidery/tapestry canvas onto the right side of the fabric to act as a guide for the cross-stitching.  Unlike the original bag, I decided to pick out two colours from the fabric and embroidered the design beneath the opening in one colour and the text in the other and then alternated the colours for the peg designs either side of the text.

Now that the embroidery is complete, with the right sides of both fabrics together, I sewed a narrow rectangle around this horizontal line.  I then drew lines diagonally from the central line to the corners of the stitching, to mark the cutting lines.  Carefully, I cut through both layers and press the seam allowance towards the lining fabric.  If possible, understitch the seam allowance to the lining as closely as possible to the seam.
Pulling out the softened waste canvas - took FOREVER!

Now turn the fabrics the right sides out.  Fold the lining fabric up in half, pin and tack and stitch up the two sides and trim the seam allowance.  NOTE - don't sew across the top of the lining yet! You could sew a slightly wider seam allowance on the lining so that it is a fraction smaller than the outer bag and thus reduce some of the bulk in the seams.


Next, pin and tack the outer fabric, right sides together, and stitch up the two sides (with a slightly narrower seam allowance than used for the lining, again, trim the seam allowance.  You should end up with two bags attached at the opening, a bit like 'conjoined bags'.
Understitching the opening of the bag

After pressing both sides, turn the outer fabric bag right side out, over the lining bag.

Carefully, fold down the top section of the outer bag to free access to the lining bag.  Insert the hanger just inside the lining and pin/tack the seam allowance along the curve (if it has a curve) of the hanger.  Carefully stitch along this line, taking care not to damage the machine/needle with the hanger!  Trim the hem.

The outer bag can now be unfolded over the rest of the bag.  Turn the seam allowance in along the upper edge of the hanger and hand stitch (slip stitch) closed.

Et voilĂ !

Monday, 4 August 2014

A 'blinding' cushion!

With all my repairs and mending out of the way now, I have no excuse to avoid getting on with a new blind for the kitchen.  As you know from ..... after replacing the windows I had to alter most of the blinds to fit the new frames.  Unfortunately though, one blind was just too short and too narrow for the new window, so I had no choice but to start from scratch.  Thankfully when we ordered the fabric we didn't realise that we'd be able to get two of the bay window blinds out of one length of fabric - so, we have enough spare for the new blind :-)
Trying to decide how I want the stripes to lie
But I really didn't want to waste the old blind (must be something to do with being brought up with parents who grew up during WW2!).  So I've decided to unpick it and use the fabric to make a cover for a cushion for our 'new' pew in the kitchen.

Following the advice of my friend, Bette Noire, I bought 2" thick 'recon' foam and 1" thick foam for the top layer. It was an added bonus that the supplier (amusingly called Pentonville Rubber!!  I've had such fun posting my visits on Facebook just to see what comments I'd get!! ;-)  ) was able to glue the layers together for me, and save me a job. With an electric carving knife, I cut the two layers to shape along the front edge - fun but bizarrely difficult to keep it vertical, so they're not perfect, but hopefully once covered no-one (unless they read this) will be any the wiser.

I made the top and bottom to match with the stripe going along the width of the bench/cushion and cut the strips for the sides along the stripes too, rather than across them.  It would mean that I'd need to be careful to stitch them carefully so that the stripes don't end up wonky though!

The edge strips were cut to be long enough to go around the front edge, the two short side edges and part-way around to the back edge.  The remaining gap would be made up of two strips, half the width of the whole so that a zip can be incorporated.  Unfortunately, getting a long enough zip in the right weight was a bit more difficult than I expected, so I decided to buy two.  It was a case of a) getting all the materials ready so that when I had the time, I could just get on with the job, and b) thinking (or hoping) that it may actually make life a bit easier to have two zips that meet at the centre.  We shall have to wait and see.
The zip section ready to
be added to the edge piece
I was undecided about what to do about the piping.  I was torn between having a contrasting bias binding (red or green - undecided there too) and making my own out of the same fabric as the rest of the cover.  In the end, I decided to stick with the stripes as a) I didn't think I'd be able to find the right shade of red/green bias binding and b) I had enough fabric left over.
First round of piping complete
Again following Bette Noire's advice, I practiced applying the piping on some scrap fabric as I'd never quite managed to get it right in the past.  It was a fiddle, but following a few attempts I decided to give it a go on the real thing.

It isn't perfect, but I'm quite pleased with the outcome.  And the pew is a lot more comfortable now :-)
Blinds and matching cushion on our chapel pew,
with matching collection box (hanging on the wall on the left!)

Tuesday, 29 July 2014

House tour - part 3

Hi remember me?  Probably not as it has been so long since I've been here.  Sorry!  It's been a bit of a manic few months, but I hadn't forgotten about you - honestly!  So, while I get myself back on track a little, here's a little tit bit to keep you going.
**********************************

In my last 'House tour' instalment I told you about the big building work in the kitchen, but also mentioned that the other 'heavy' work happened downstairs, in the living/dining rooms.

We didn't want to do away with the wall between these two rooms completely, but we did want the flexibility of being able to use them as one room if we wanted.  So we opted for a doorway between the two rooms. 

Initially I fancied getting some reclaimed doors and to build the doorway around them, but it wasn't quite as easy as it sounds.  In the end, we had bespoke doors made and are very pleased with the result.

We're both keen readers and have lots of books, so it was essential that we had plenty of space to store/display our books.  In fact, for DH it was more than essential (if that is possible!).  The two alcoves either side of the fireplace in the living room were perfect for some bookcases.  We looked at ready-made ones and couldn't quite find what we'd pictured in our heads for a price we could afford and so the 'door man' also built these for us.

So, here is (more or less) how our living room looks now:


And our dining room:

One day we'll have the original French windows in the dining room restored too.  They're far too nice to replace, although we've yet to decide whether or not to have a little balcony or some stairs leading down from them into the back garden (who's idea was it to remove the originals?!?!?).

Tuesday, 25 March 2014

House tour - part 2

Following on from an earlier post, here's more on our renovations.

Downstairs, or the reception rooms is where the majority of the heavy work was done.

Originally it was four rooms - living room, dining room (or study, as the vendors had it), breakfast room and kitchen.  The kitchen was pretty small and dark.  I later discovered that the kitchen would originally have been three rooms - a (very) small kitchen, a pantry and an outside toilet - that had been knocked into one.  But for us, it was still too pokey, so we decided to knock the wall between the kitchen and the neighbouring breakfast room down to create one large room.

The original kitchen
The breakfast room
The work in progress!
This was a huge job and took quite a lot of time, but eventually it was ready for the new kitchen units and appliances.

It faces north, so I was concerned about light in the room and opted to go for light units and light wall tiles.  Not a common combination these days, but we'd seen a very similar kitchen in New York and it looked great.  It was MUCH smaller and also had light floors and work surfaces, but we decided to go for a bit of contrast to vary things a little and chose a wooden work surface (which hopefully reflects the floor boards in one half of the room).  We decided that the 'work' end of the new kitchen, which had been the original kitchen, would have a tiled floor and that way we would also 'show' a little of the house's history by delineating the two rooms we'd knocked into one.

If you've been reading this blog for a while, you will know that one of the earliest 'house' posts was about the blinds I made for the kitchen, which were recently altered to suit the new windows installed last spring, so it now looks like this.

Monday, 10 February 2014

Chuffed

Tidying the cupboard under the stairs (which is actually the stairs to the cellar) has been on my mind for some time and after a fair bit of research, followed by brainstorming with DF and a trip to good ol' Ikea, I felt that this weekend was finally the time to bite the bullet and try out my DIY skills. So after going over it in my head a few times and a trip to Homebase on Saturday morning, here is the result ...

It is still a work in progress (I ran out of screws!) but I think it is already much neater and Skirtingboard Siw is back in action!!

On a completely different note, here is some more of this weekend's handiwork by Yours Truly.

Wednesday, 8 January 2014

Catching up on life - part 1

I've been a bit slow getting back into this blogging business since the summer.  Part of that was a lack of motivation to get on with projects and part of it was a serious illness in the family.  But I'm trying to get back into things gradually now and you will have seen that in November last year I made a coordinating shower curtain for our en-suite.

I'm also relieved that I've finally altered my kitchen blinds to fit the new windows.  I still have one to sew from scratch and I hope that the altering will have refreshed my memory of how Roman blinds are constructed.  It was nice to do some tidying up of the kitchen done over the New Year with DH and finally get pictures etc back up after redecorating last summer.

Well, I've moved on to repairing stuff.  Not my favourite aspect of needlework to be honest, but needs must sometimes and the pile was growing and in danger of smothering the sewing machine completely.

First in the pile was a quick darning job for DH - the second time I've had to repair the seam under the armpit on his sweater.  Then another darning job - I'd stupidly clipped my hair clip to my cardigan and left it there while I got on with other stuff without realising that it had made a couple of small holes in it :-(

But now it is time to get back to some sewing - making a new lining for the guest room curtain.  I made a new lining for one of them months and months ago and have been meaning to get around to making the 'pair' for equally long.  Once again, the New Year break came into its own and after altering the kitchen blinds I felt on a roll.

Next?  Well, re-hemming my summer trousers before it is time to wear them again.  What an exciting life I live!

Thursday, 28 November 2013

Showered with luxury

We've almost cleared all signs of the previous owners of the house now.  Sounds harsh I know, but they were a bit hippyish and did things 'on the cheap', for example, using bubble wrap and polystyrene sheets to 'insulate' beneather the floorboards!  Obviously, they weren't too worried about the fire hazard that it posed.

Old shower curtain
One small trace of them is the shower curtain in our en suite.  It is quite a nice one really, with blue sea shells printed all over it.  However, trying to get the stains out of the bottom of it is getting more and more difficult now.  Added to that, it doesn't match the colour scheme.  I was thrilled when I spotted a teal shower curtain in Ikea that went beautifully with our tiles and paintwork, but when I got it home it was too short.   I've since discovered that it is ludicrously difficult to get shower curtains longer than 180cm.
So, I decided that I'd have to make one instead.  Worst comes to the worst, I'd buy some plasticy material for a lining and choose some nice fabric for the outside and make both myself.  But on a recent visit to stay with DS I was browsing through her Next and La Redoute catalogues when I spotted a plain, white shower curtain in the La Redoute catalogue that was 200cm long!!!!!  RESULT!  And it was under a tenner.

New shower curtain
I've had samples of various teal fabrics from John Lewis and the first one to arrive was the one we both liked best.  It is a simple stripe - fairly wide stripes in white and teal with a slightly satin finish.  Perfetto!  Added to that, by the time I got around to buying the fabric, it was less than half price in the sale too.  :-)

And now that I'm a curtain expert (!), it wasn't too time consuming and fiddly to make the outer curtain myself.  I thought that it would be a good excuse to take any frustration or whatever out on bashing the eyelets into place, but I failed abysmally, so I had to ask DF for help!  So now we'll have to look particularly smart when we take a shower!!! ;-)

Wednesday, 25 September 2013

Lacking motivation

I've been feeling guilty.  Very guilty in fact.  Guilty for not posting more regularly, guilty for not getting through my embroidery/sewing etc tasks more efficiently, guilty that it has taken me so long to catch up on chores, guilty for enjoying the heat wave instead of getting on with stuff,.... guilty about EVERYTHING.

But, following a 'bit' of a crisis in the family, everything has been put in perspective and I think, maybe, hopefully, I'm beginning to see light at the end of the tunnel again.  And with a bit of luck that will bring new-found energy and enthusiasm to get back on track (and get posting again!).

When asked how he coped with completing UFOs or difficult projects, Kaffe Fassett said he used the 'F-word' and the 'C-word' - I'm not sure what you're thinking, but he meant 'focus' and 'concentration'! Do they work for you?  How do you cope when you hit a slump, or feel overwhelmed by stuff? 

Wednesday, 7 August 2013

House tour - part 1

You're all probably sick of hearing about our various renovations at home and after spotting something on another blog, I thought I might show you 'around' a bit and let you see the before and after of our home.  There is still plenty to do and things will probably change again in places, but at least then you'll have an idea of how far we've come and how far we still have to go!

So, to start, some background.

We've been living here for a little over three years now.  It had previously been a family home for about 20 years and we get the impression that the family always struggled to have enough money to invest in the house.  That has had its pros and cons for us.  The pros being that there are some nice original features in the house - bare floor boards, some coving/plaster work, original doors, stained glass, fire places.  The cons have been - out-dated wiring, windows and heating, shoddy work throughout, wear and tear showing its affect.

To follow Julie Andrews'/Maria's example, let's start at the beginning.

We fell for the house as soon as we saw it and could see the potential in it, and thankfully the vendors needed a quick sell, so we jumped at the chance of such a spacious house within our price-range.  We lined up some builders to start work as soon as we completed and moved into temporary accommodation whilst they were hard at work.

They rewired:

Knocked two rooms into one:

Knocked a new door-way between the living room and dining room:

Refashioned the en-suite bathroom:

Fitted a new kitchen:

And filled the garden with rubble: